Growing Microgreens & Sprouts Indoors - From Seed to Harvest
Anyone who lives in the (big) city will know it. Having your own garden is about as likely as winning the lottery. It's considered lucky that our rental apartment has a (south-facing) balcony. But not everyone has that luxury. So what can you do if you don't have any open-air space available, but still want to grow your own vegetables? The awareness of healthy food is growing (pun intended) but we're truly struggling to live above our life circumstances.
Growing our own vegetables certainly goes one step further.
Of course, not every vegetable is suitable for growing indoor. Many need more space and sun that indoor can't offer. Others need a very specific type of soil and develop very deep roots.
So today I want to talk about sprouts and microgreens - the easiest way to grow veggies indoor.
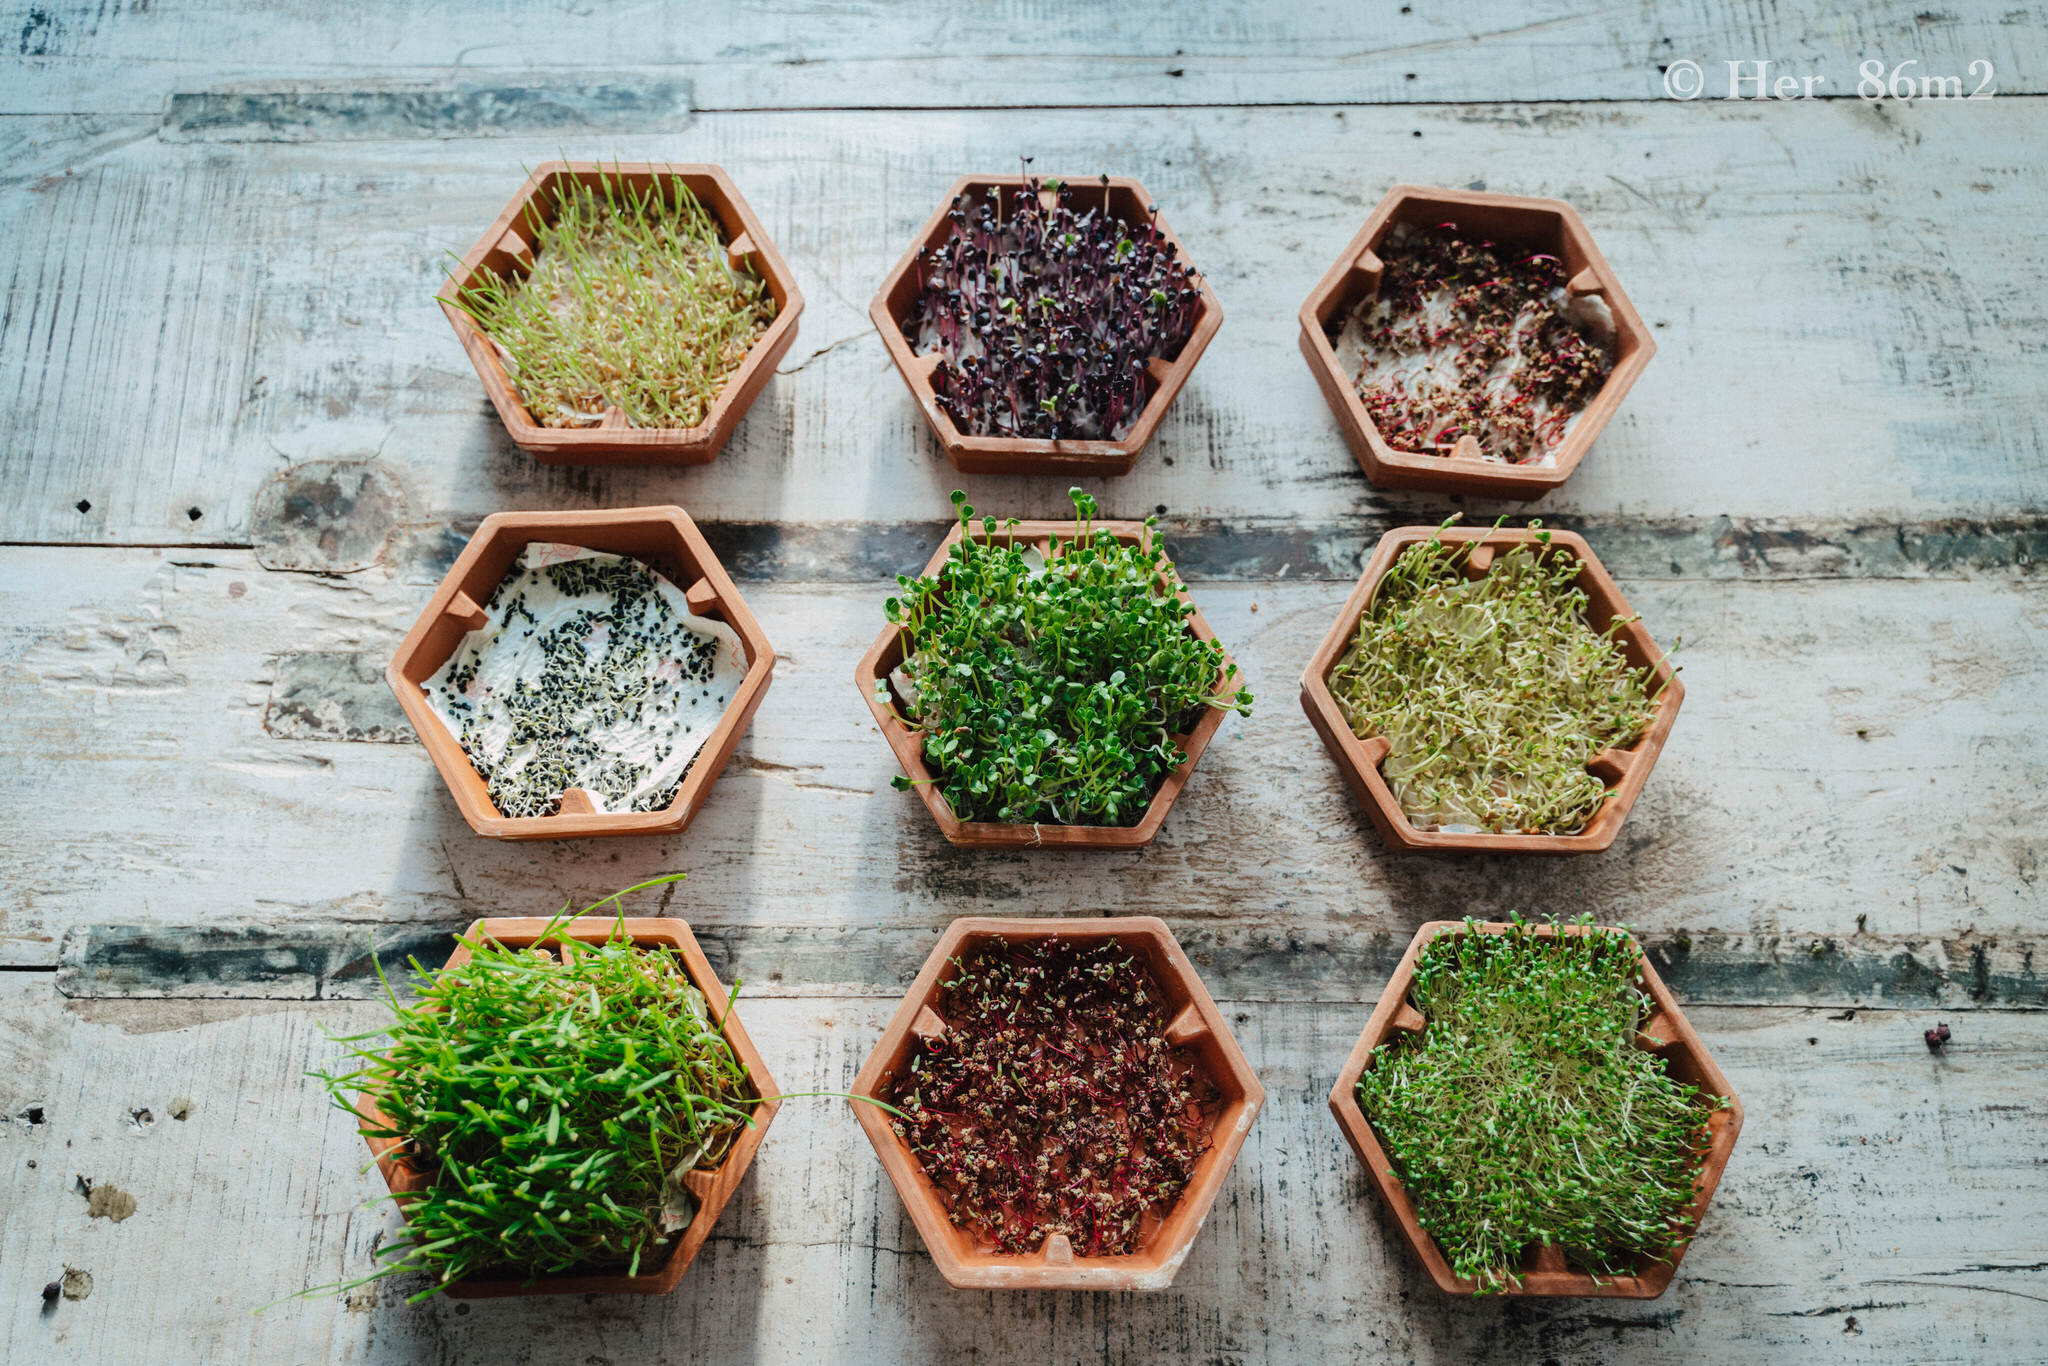
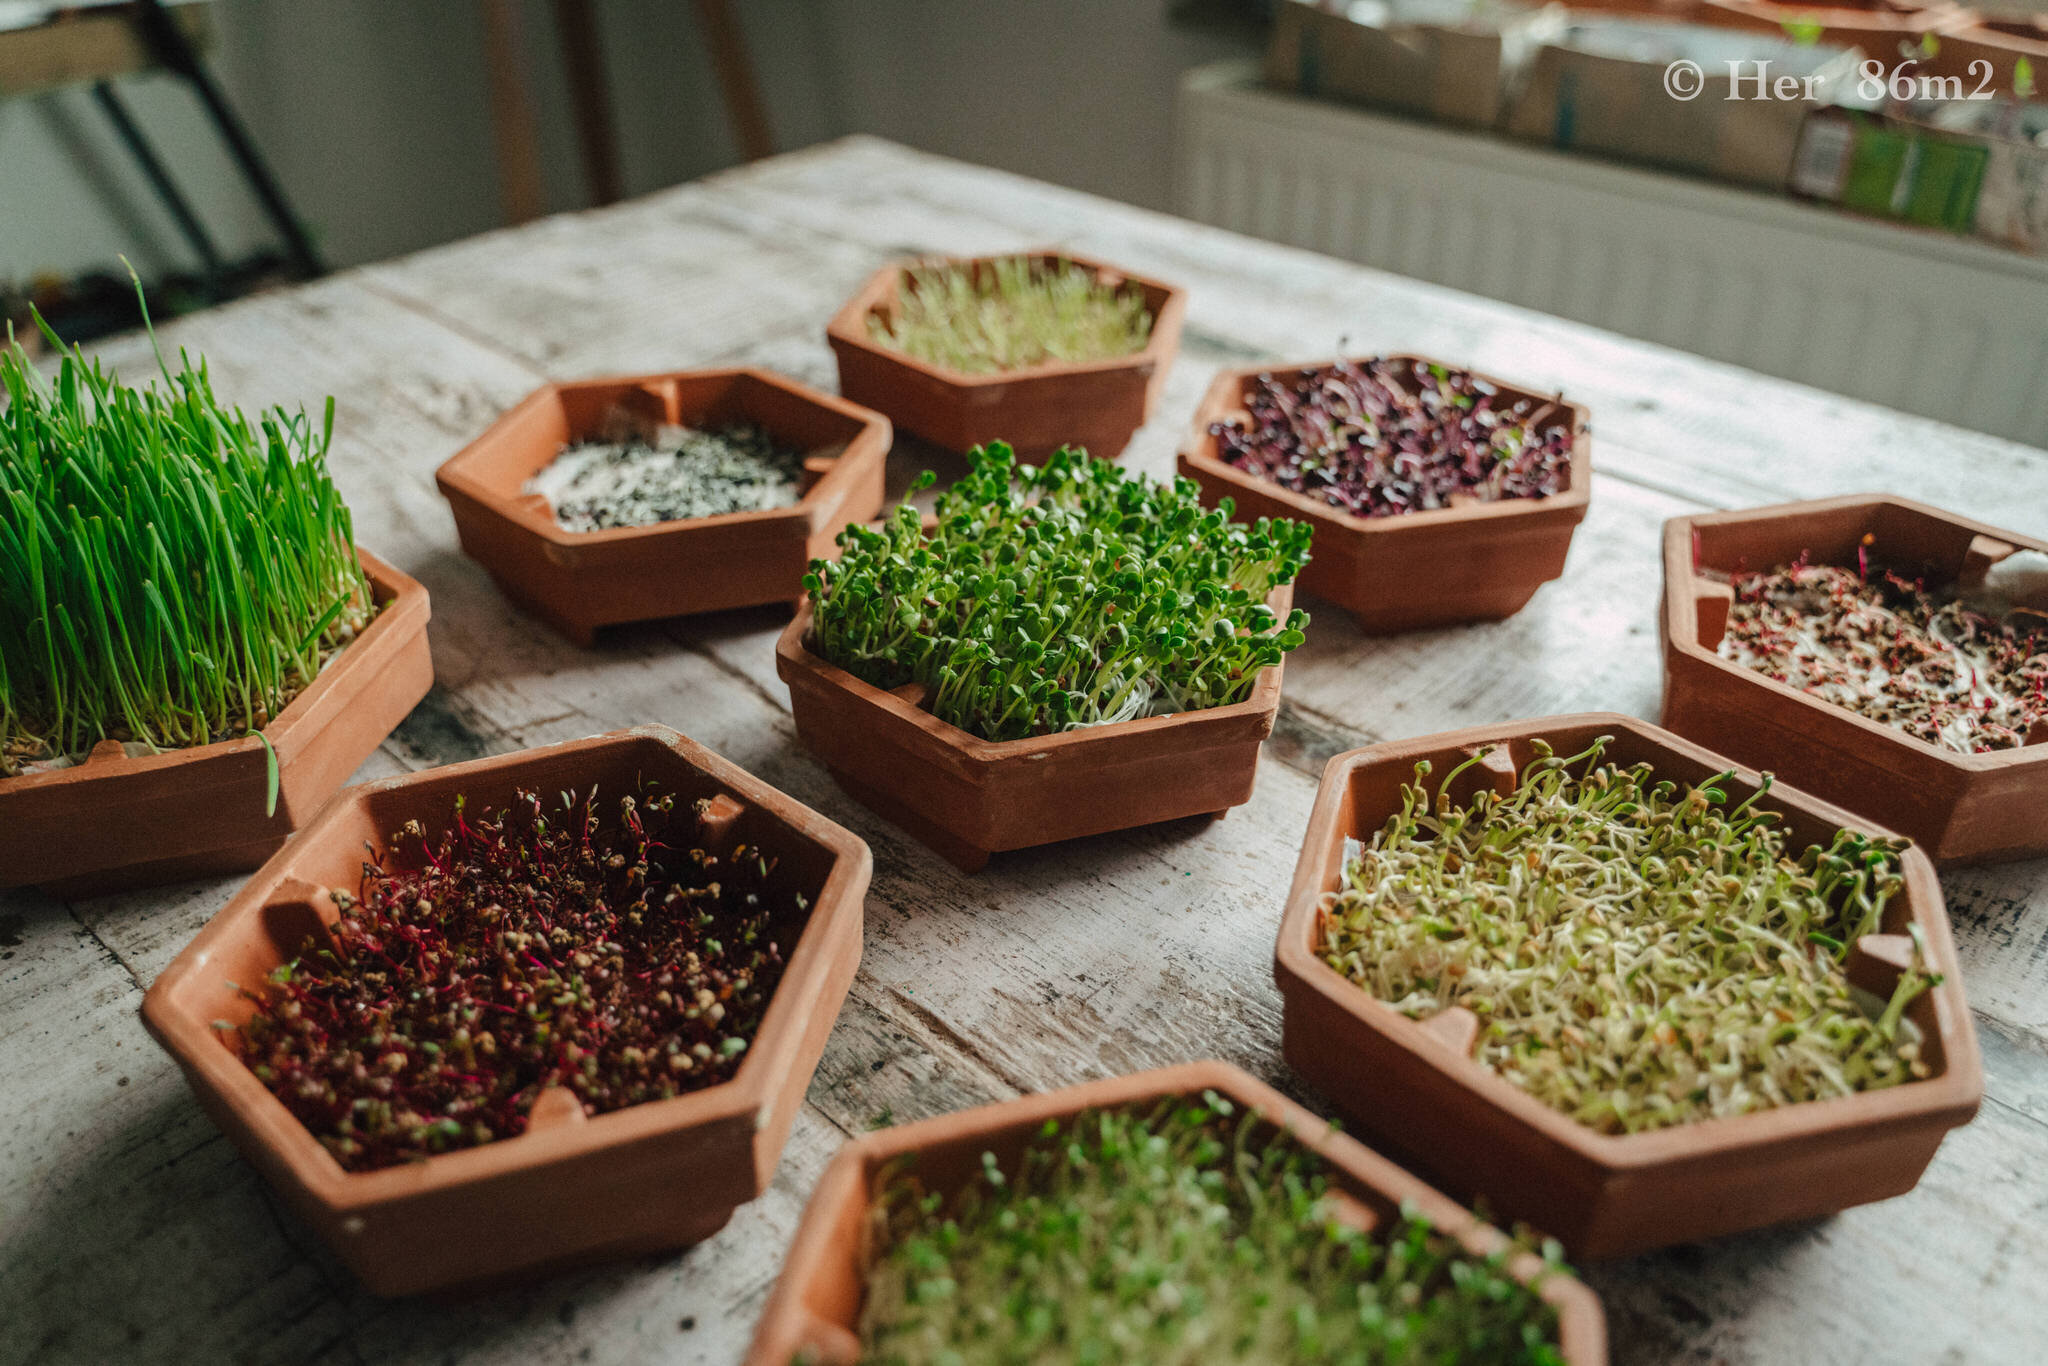
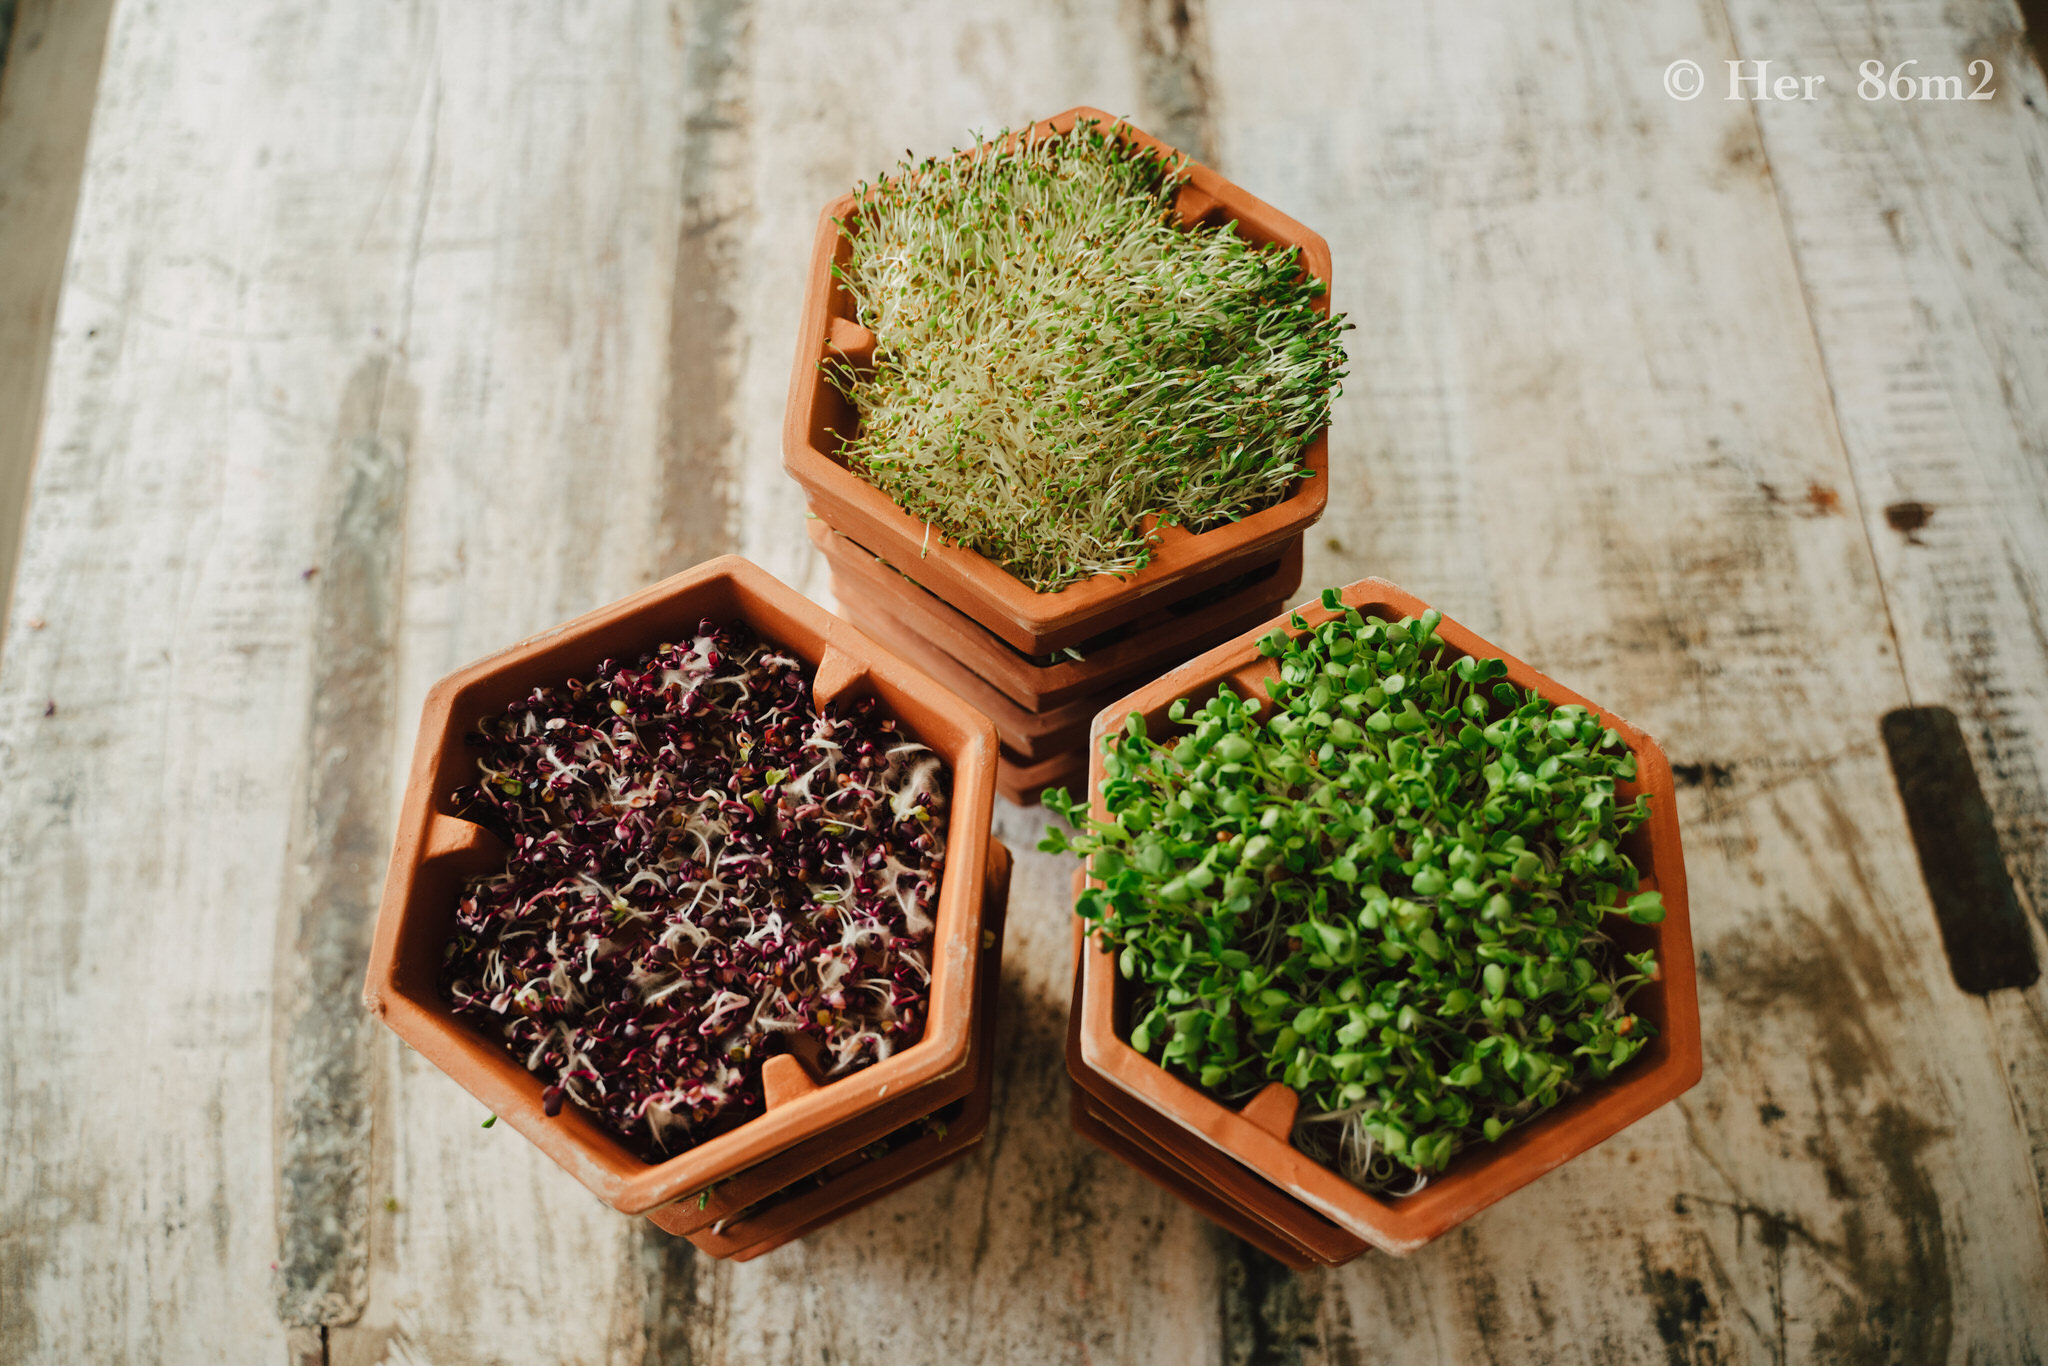
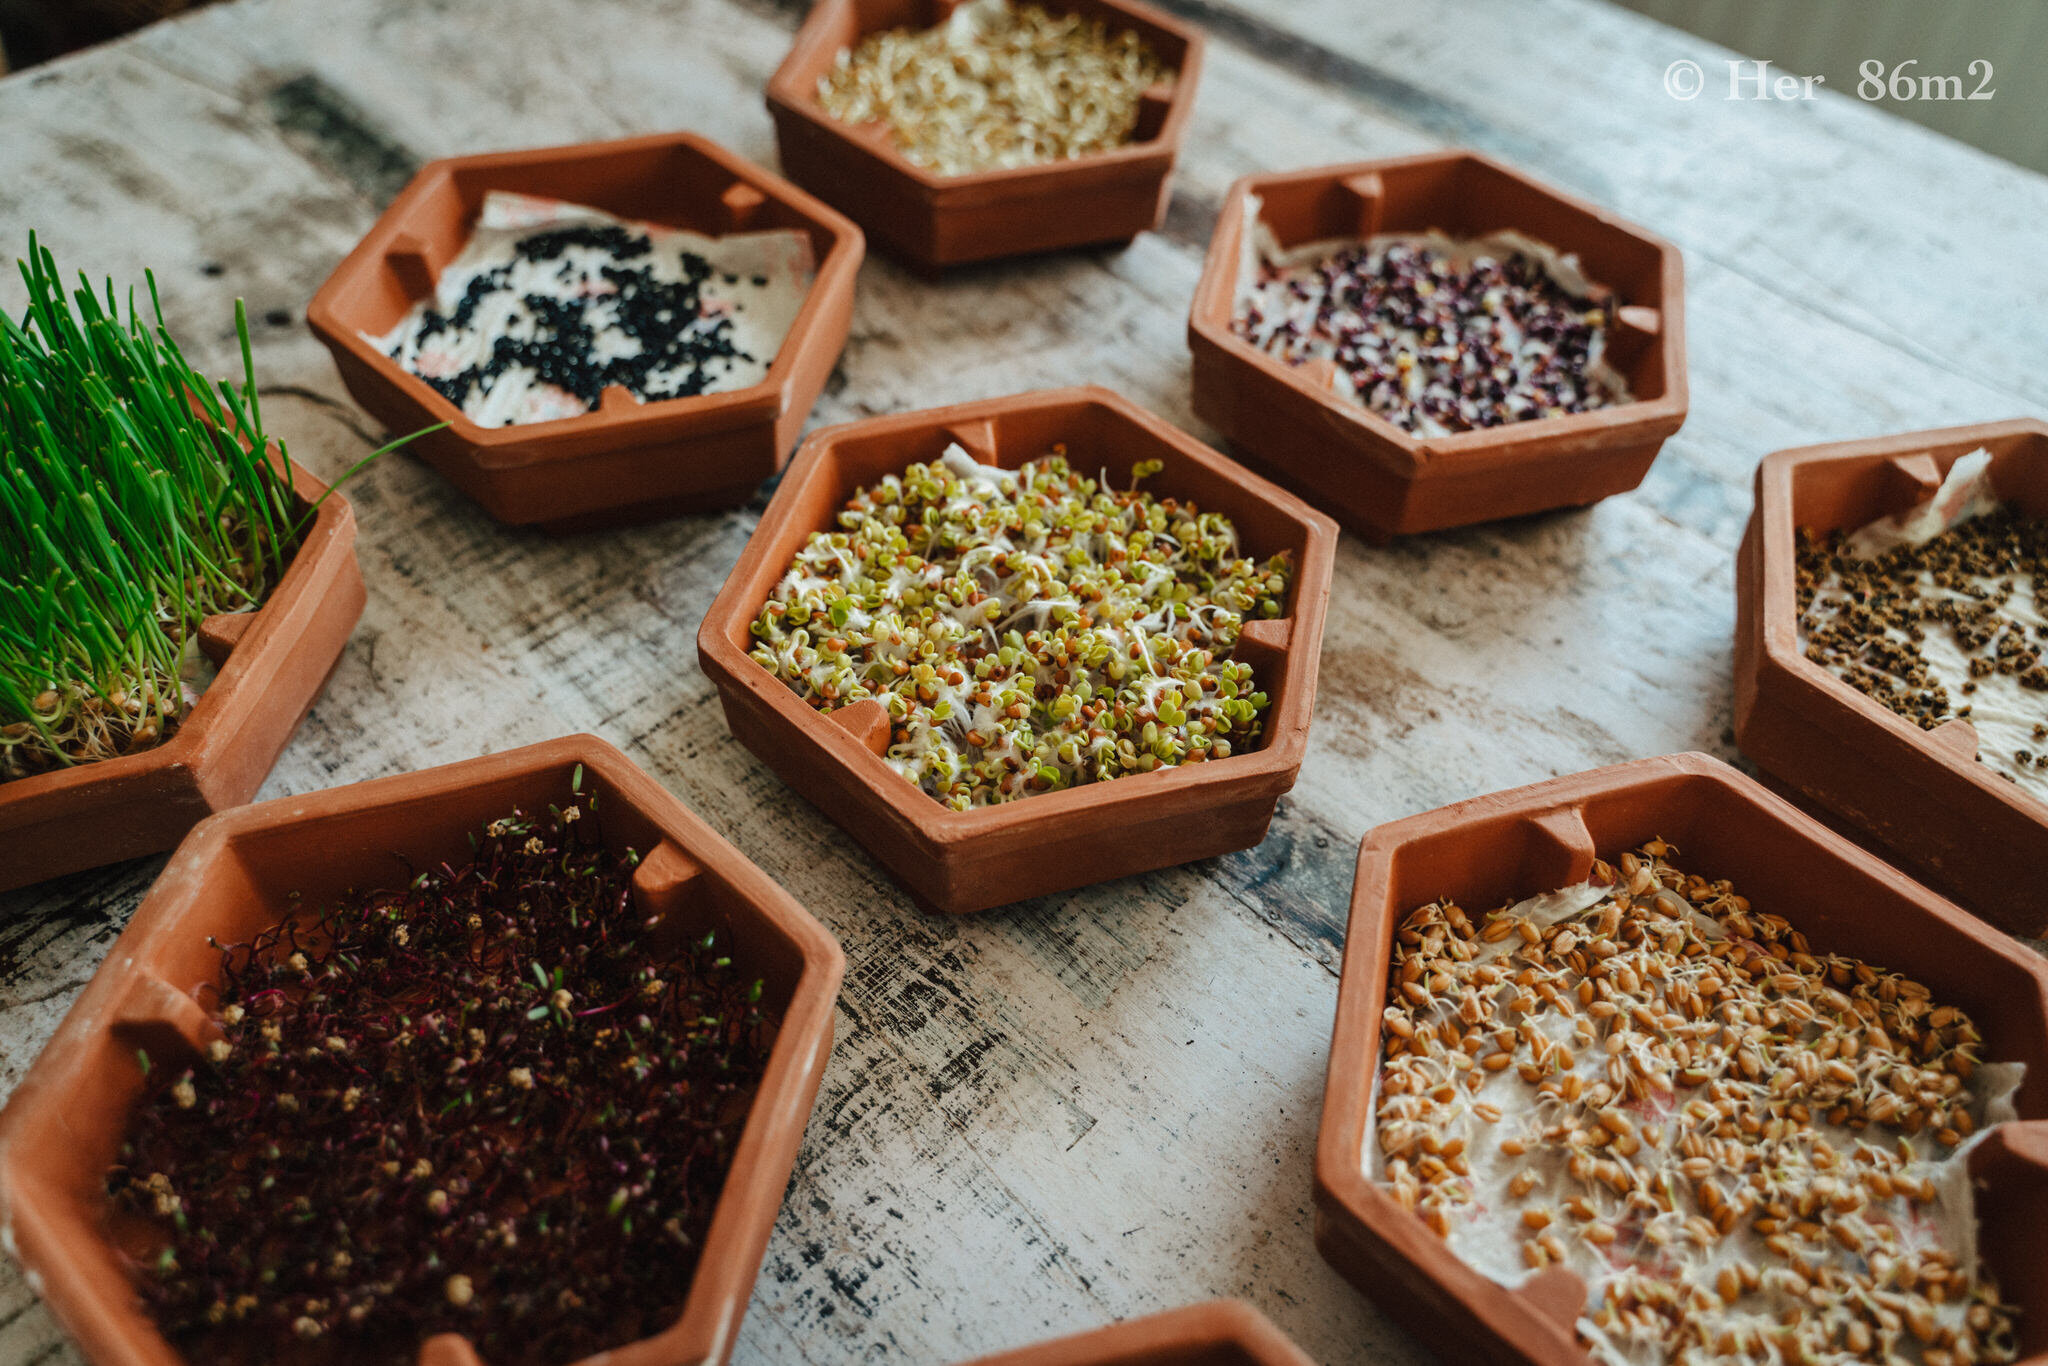
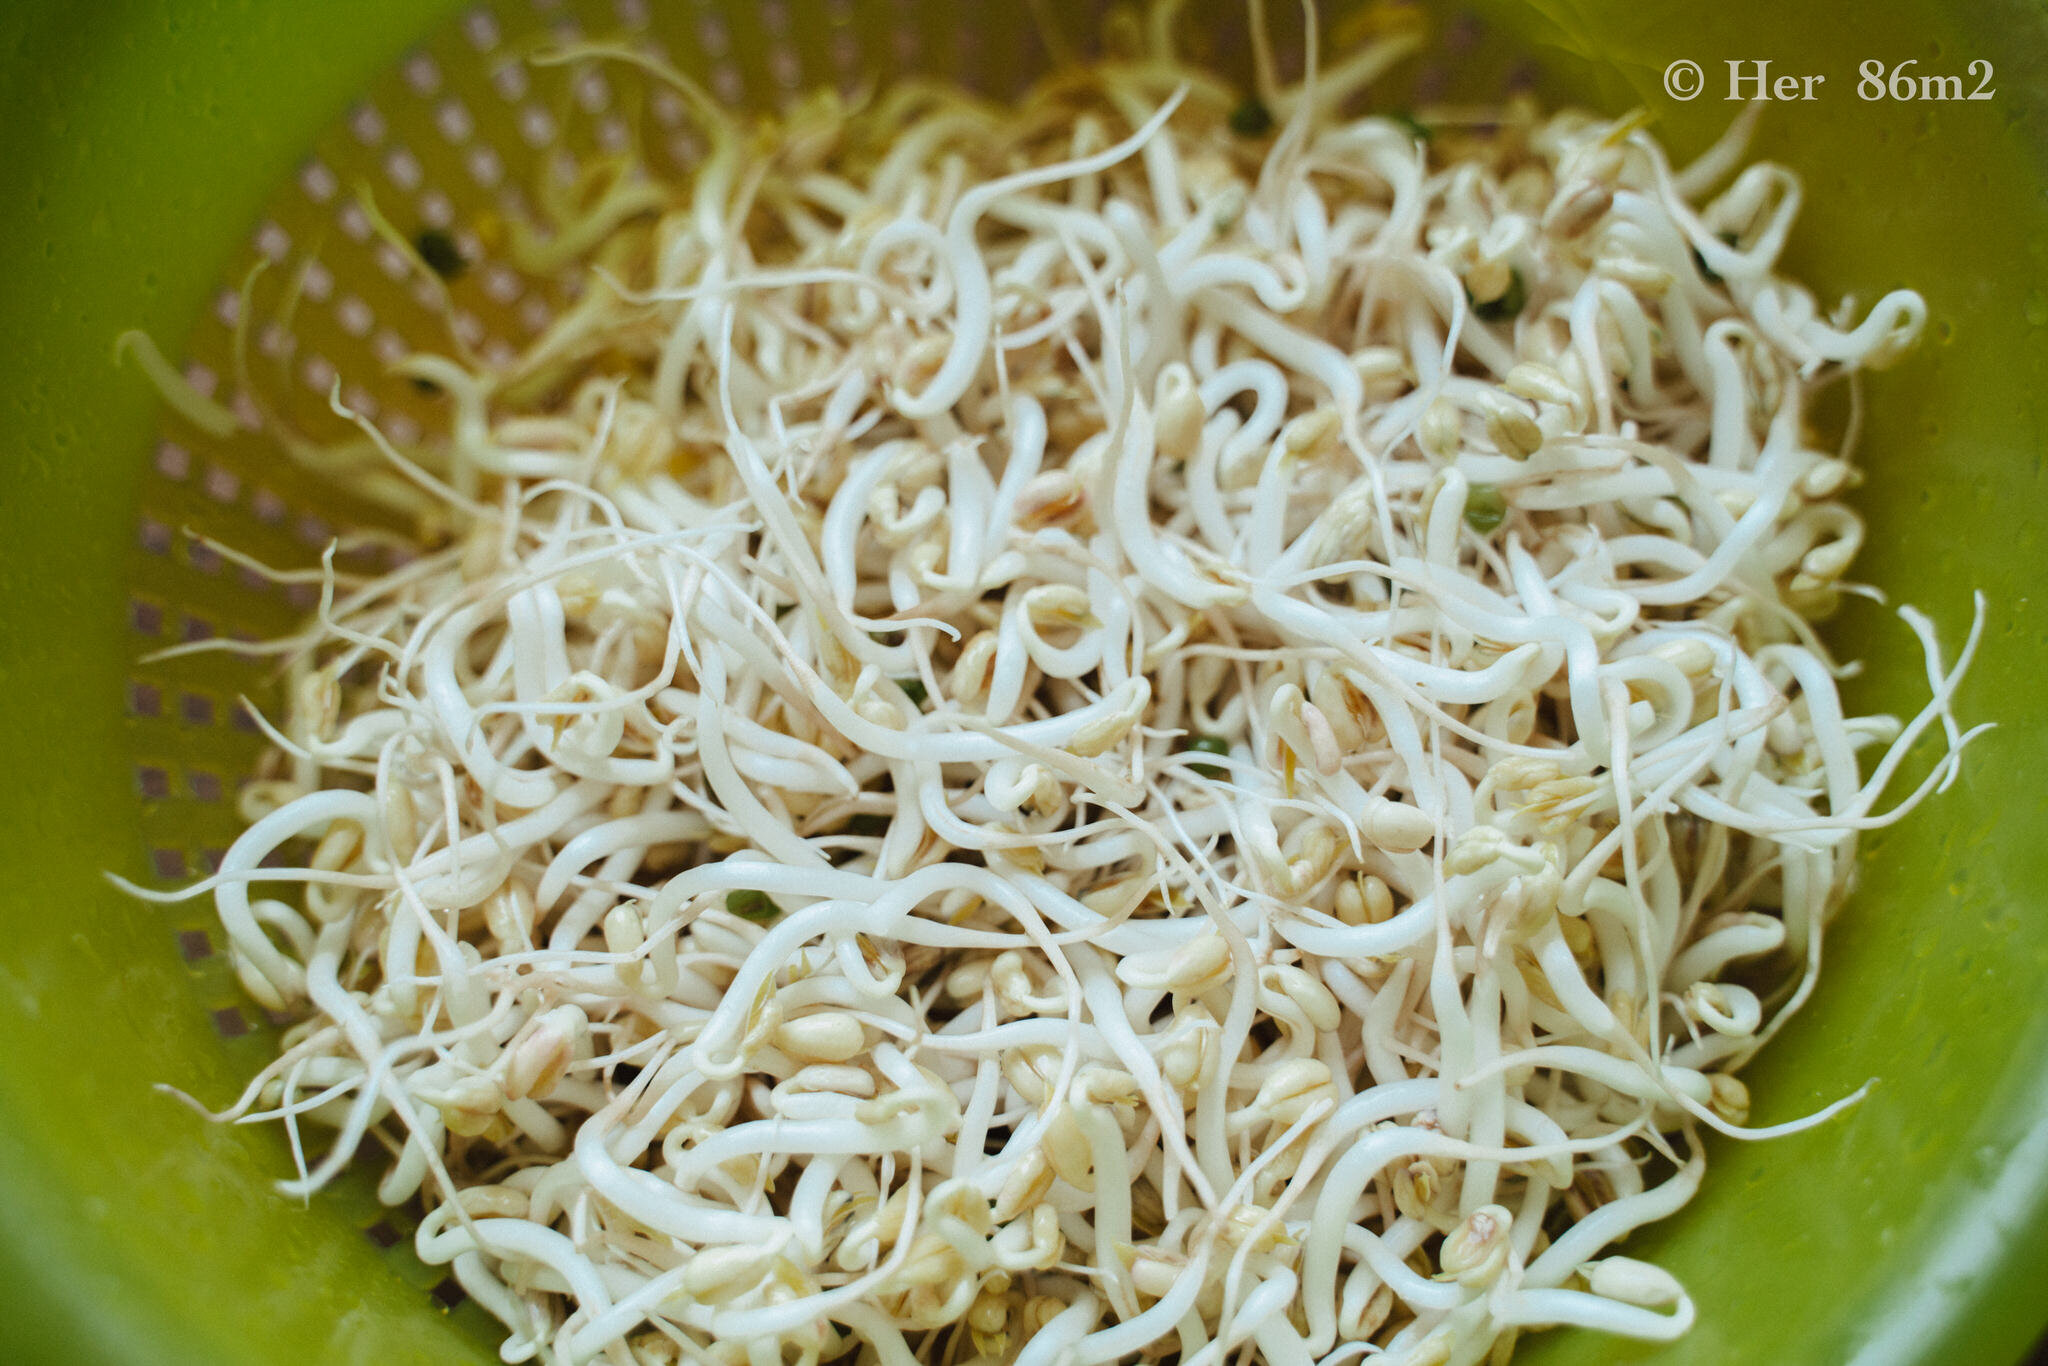
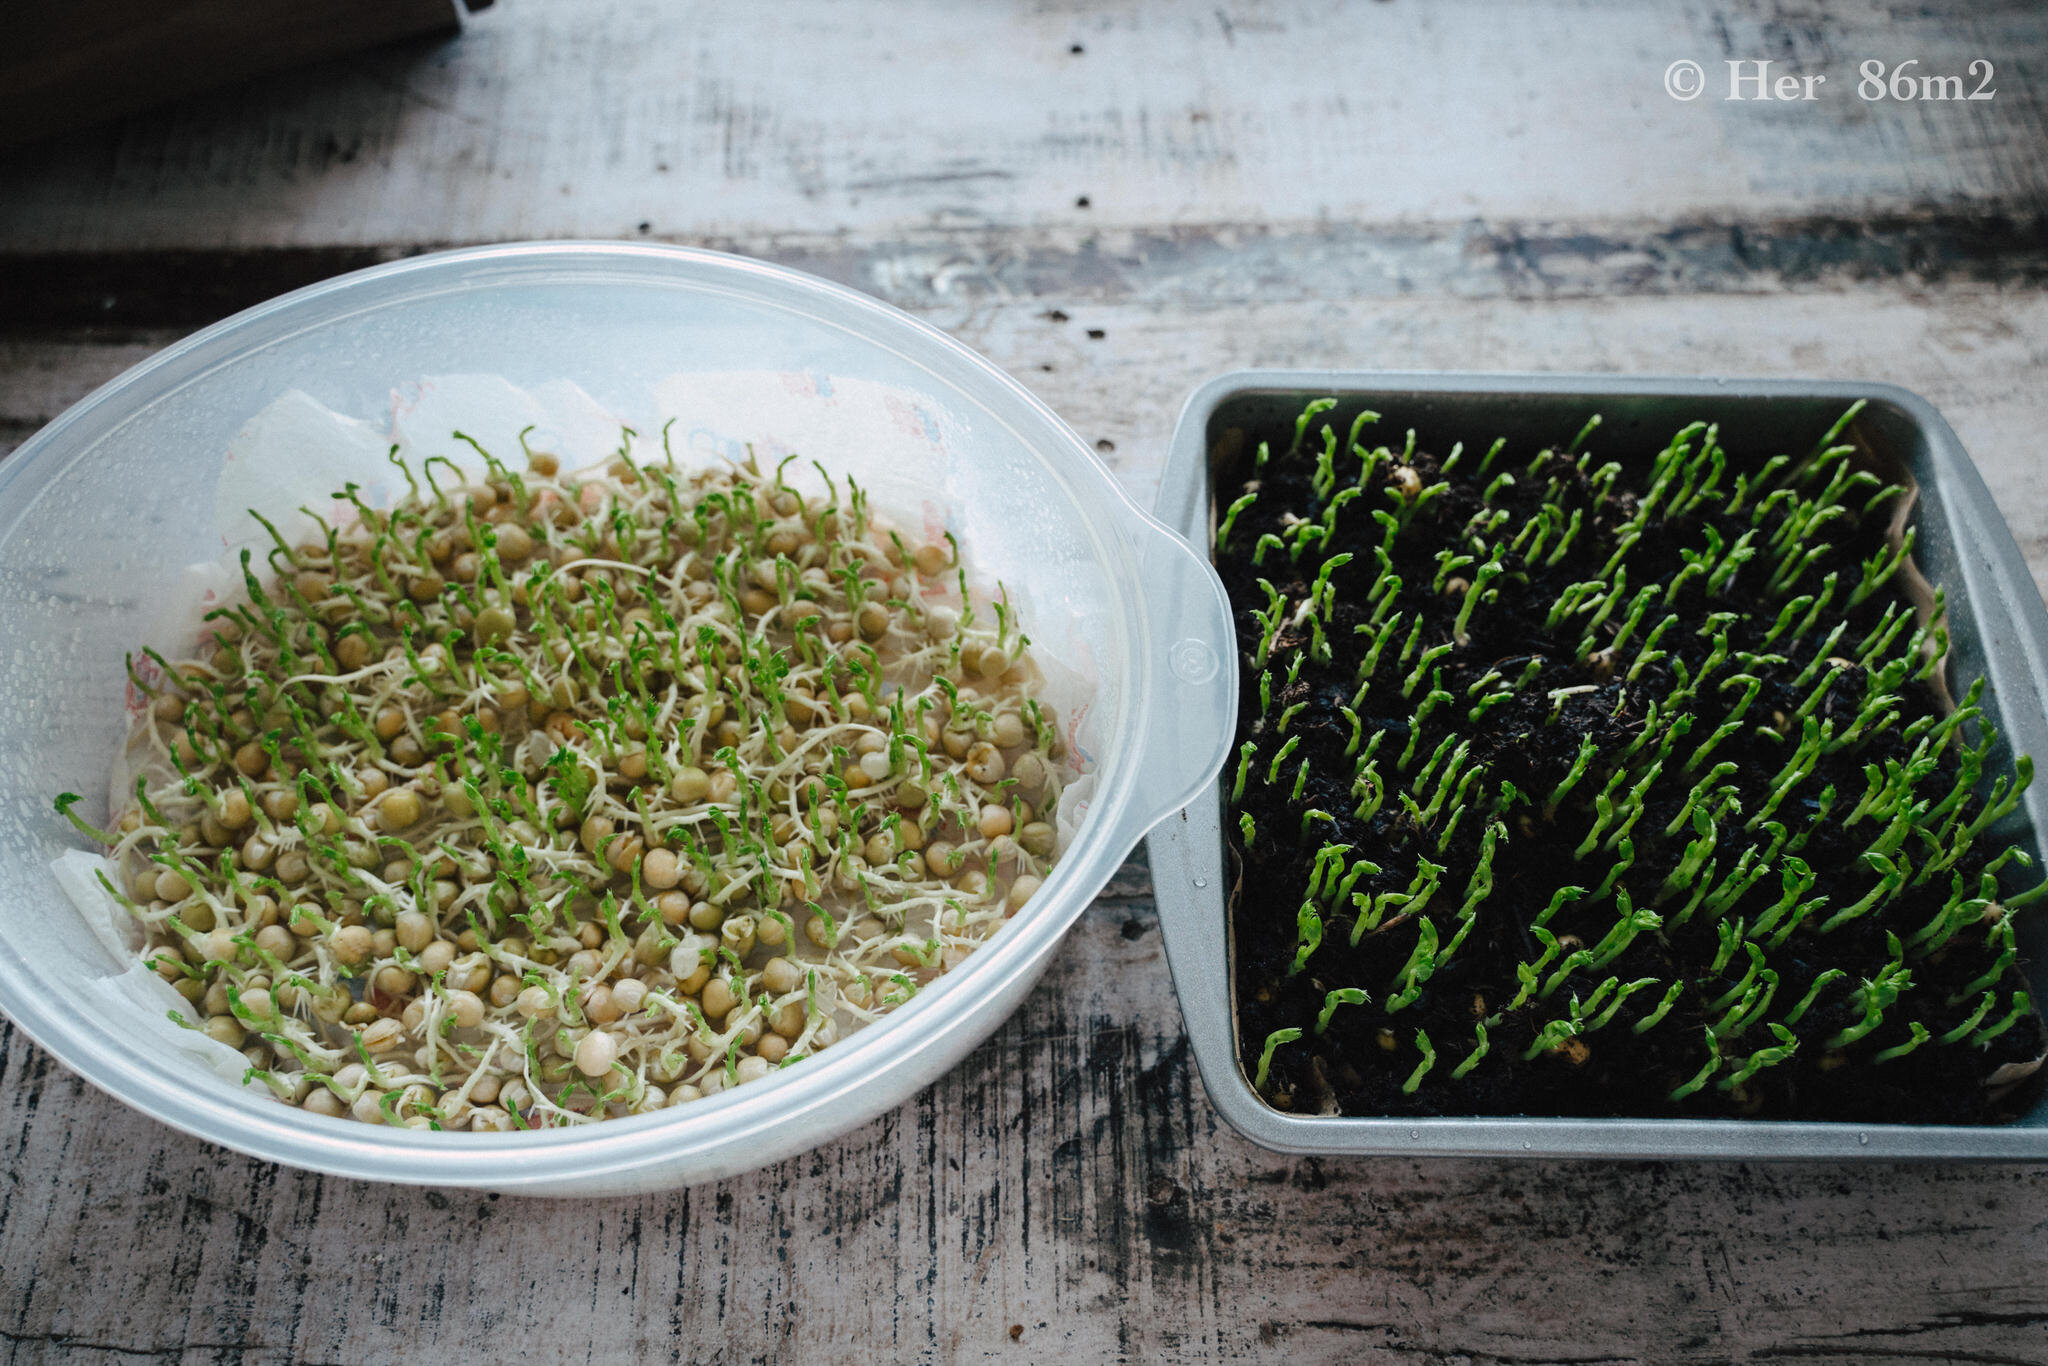
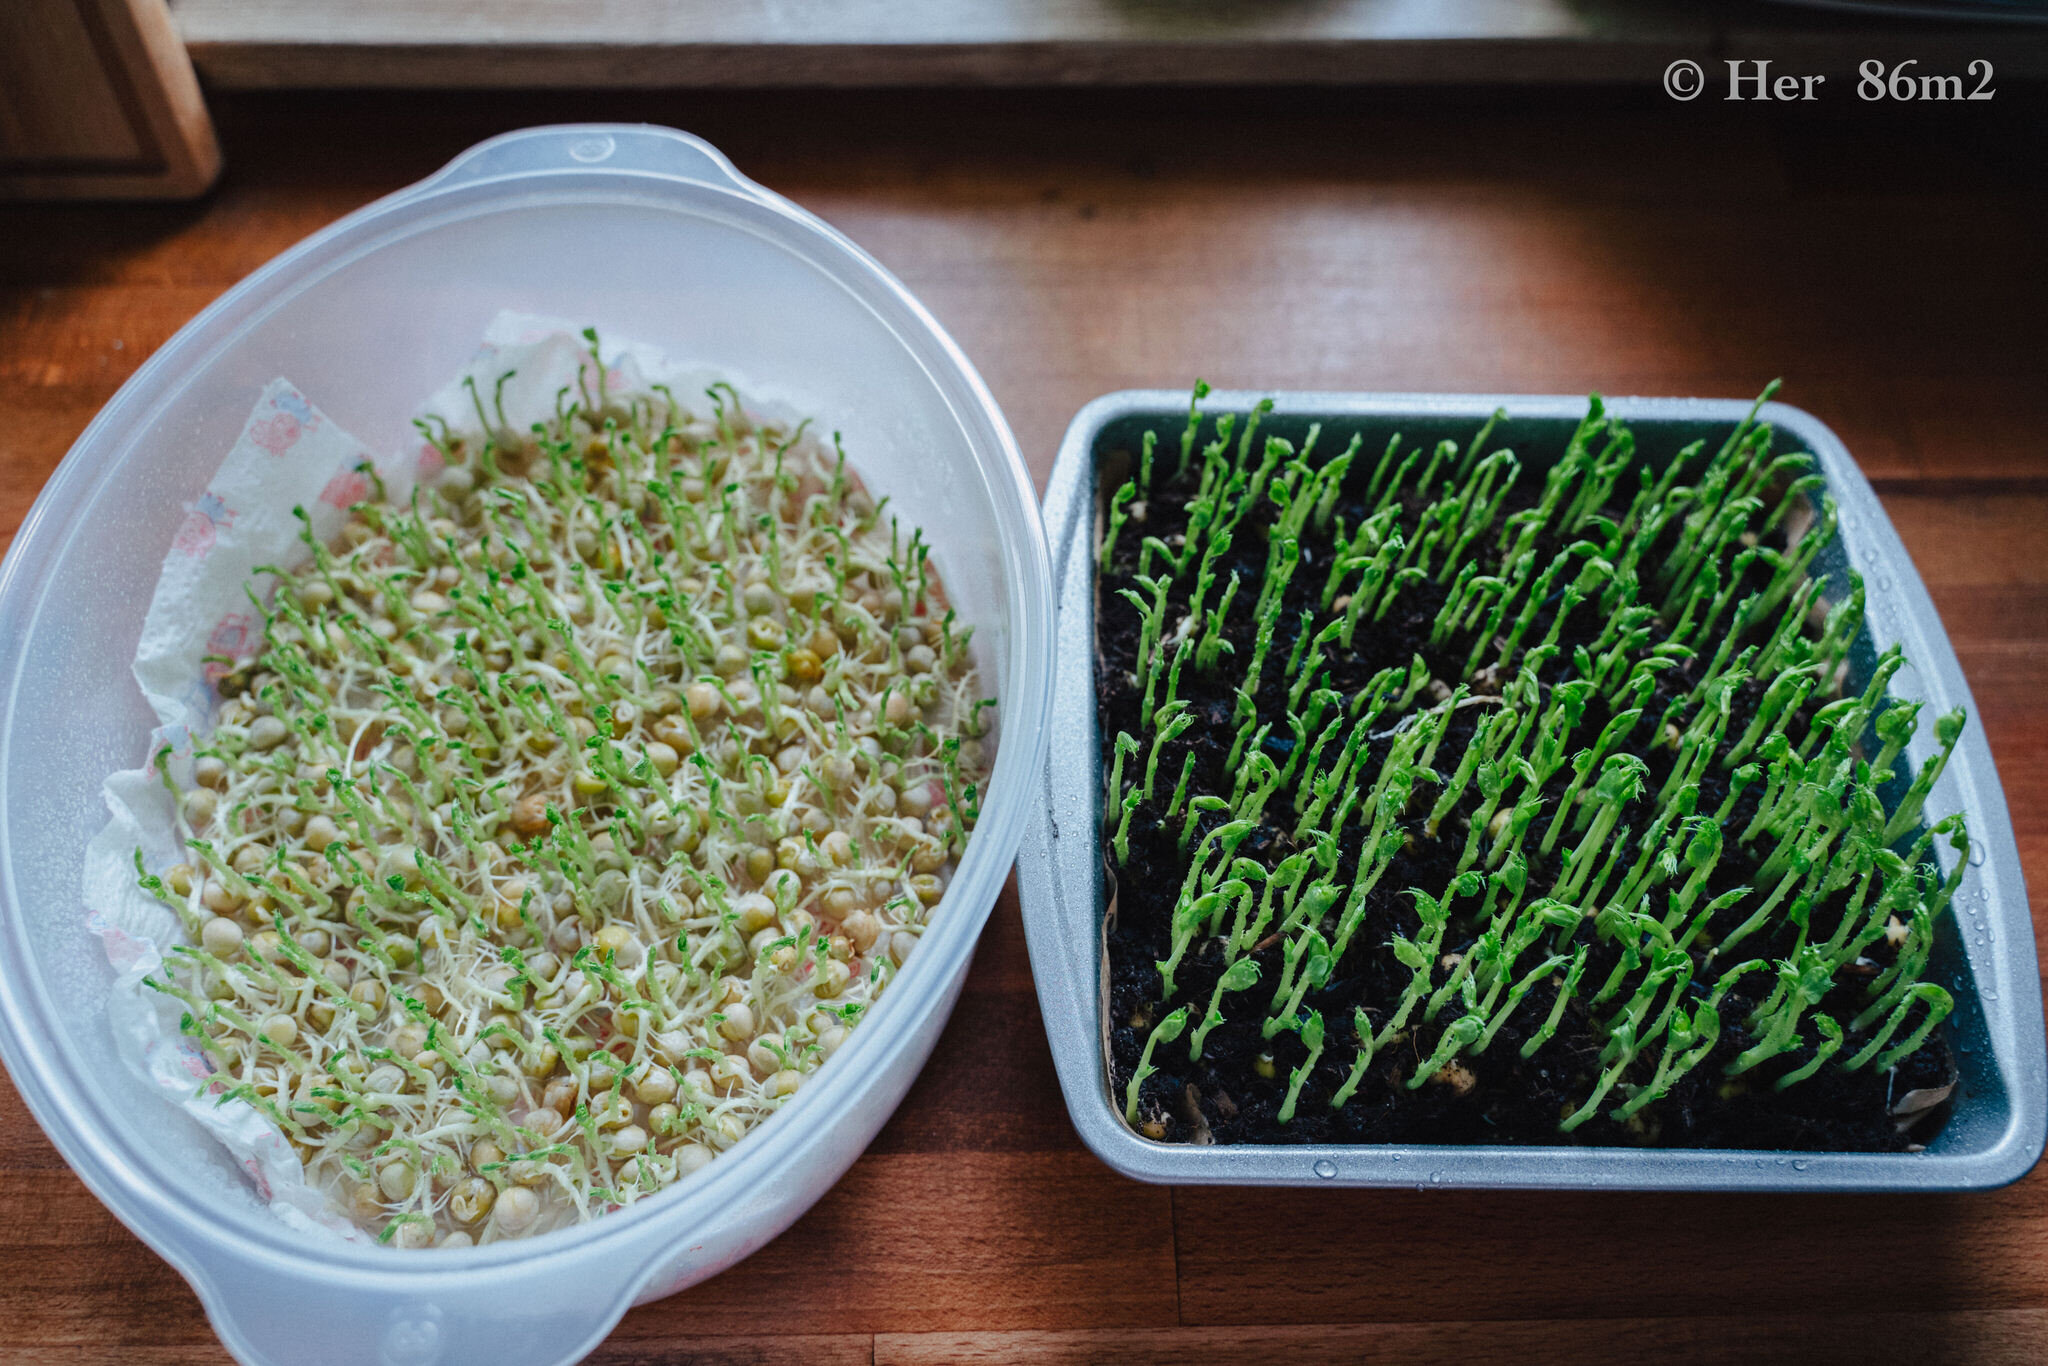
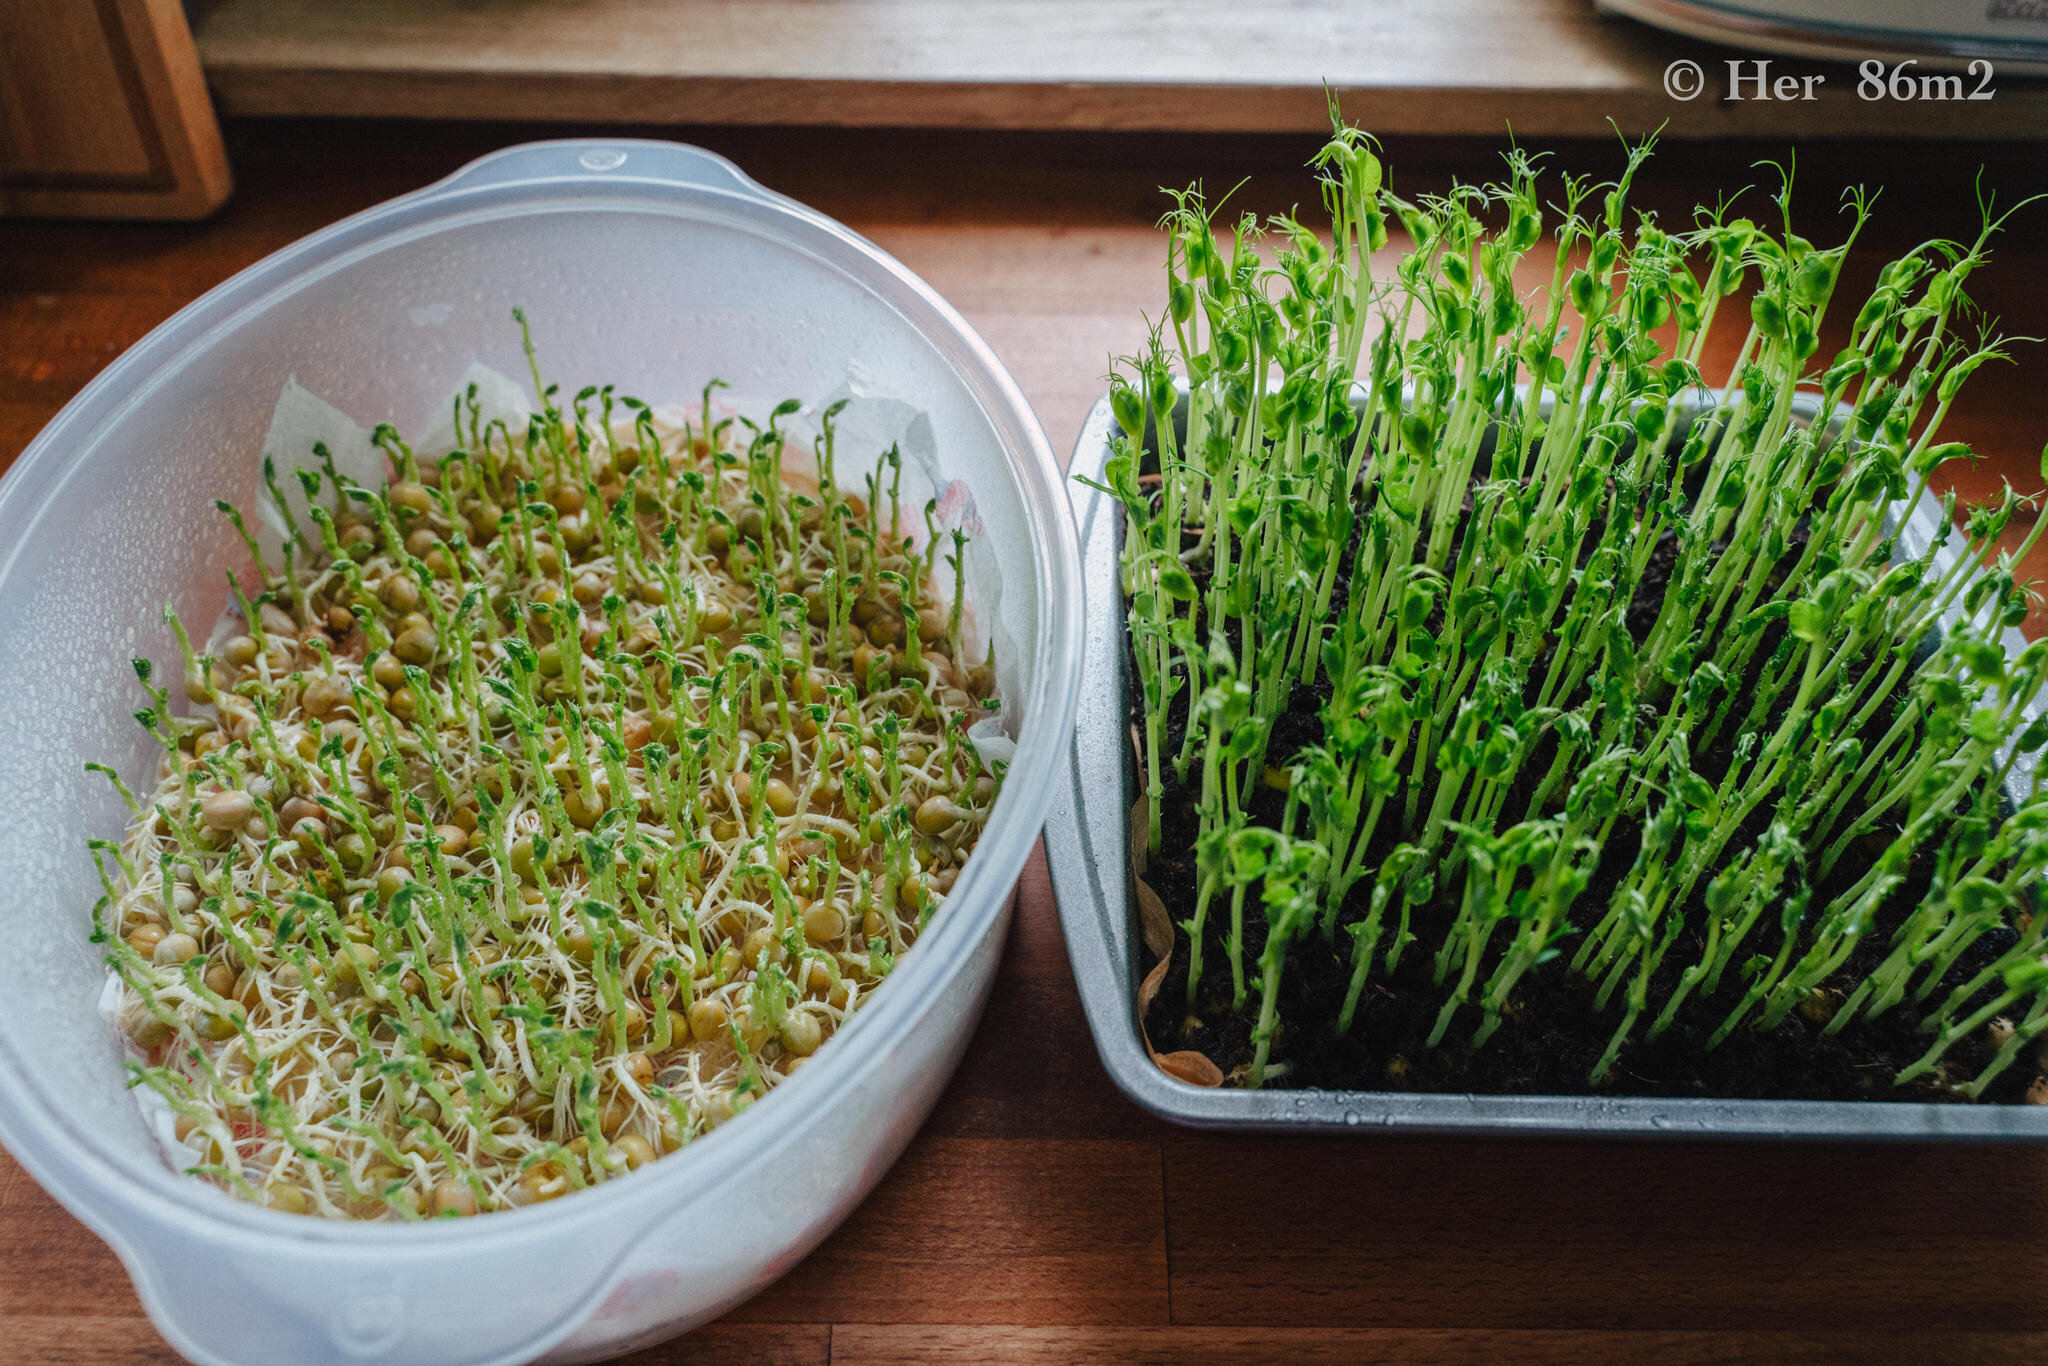
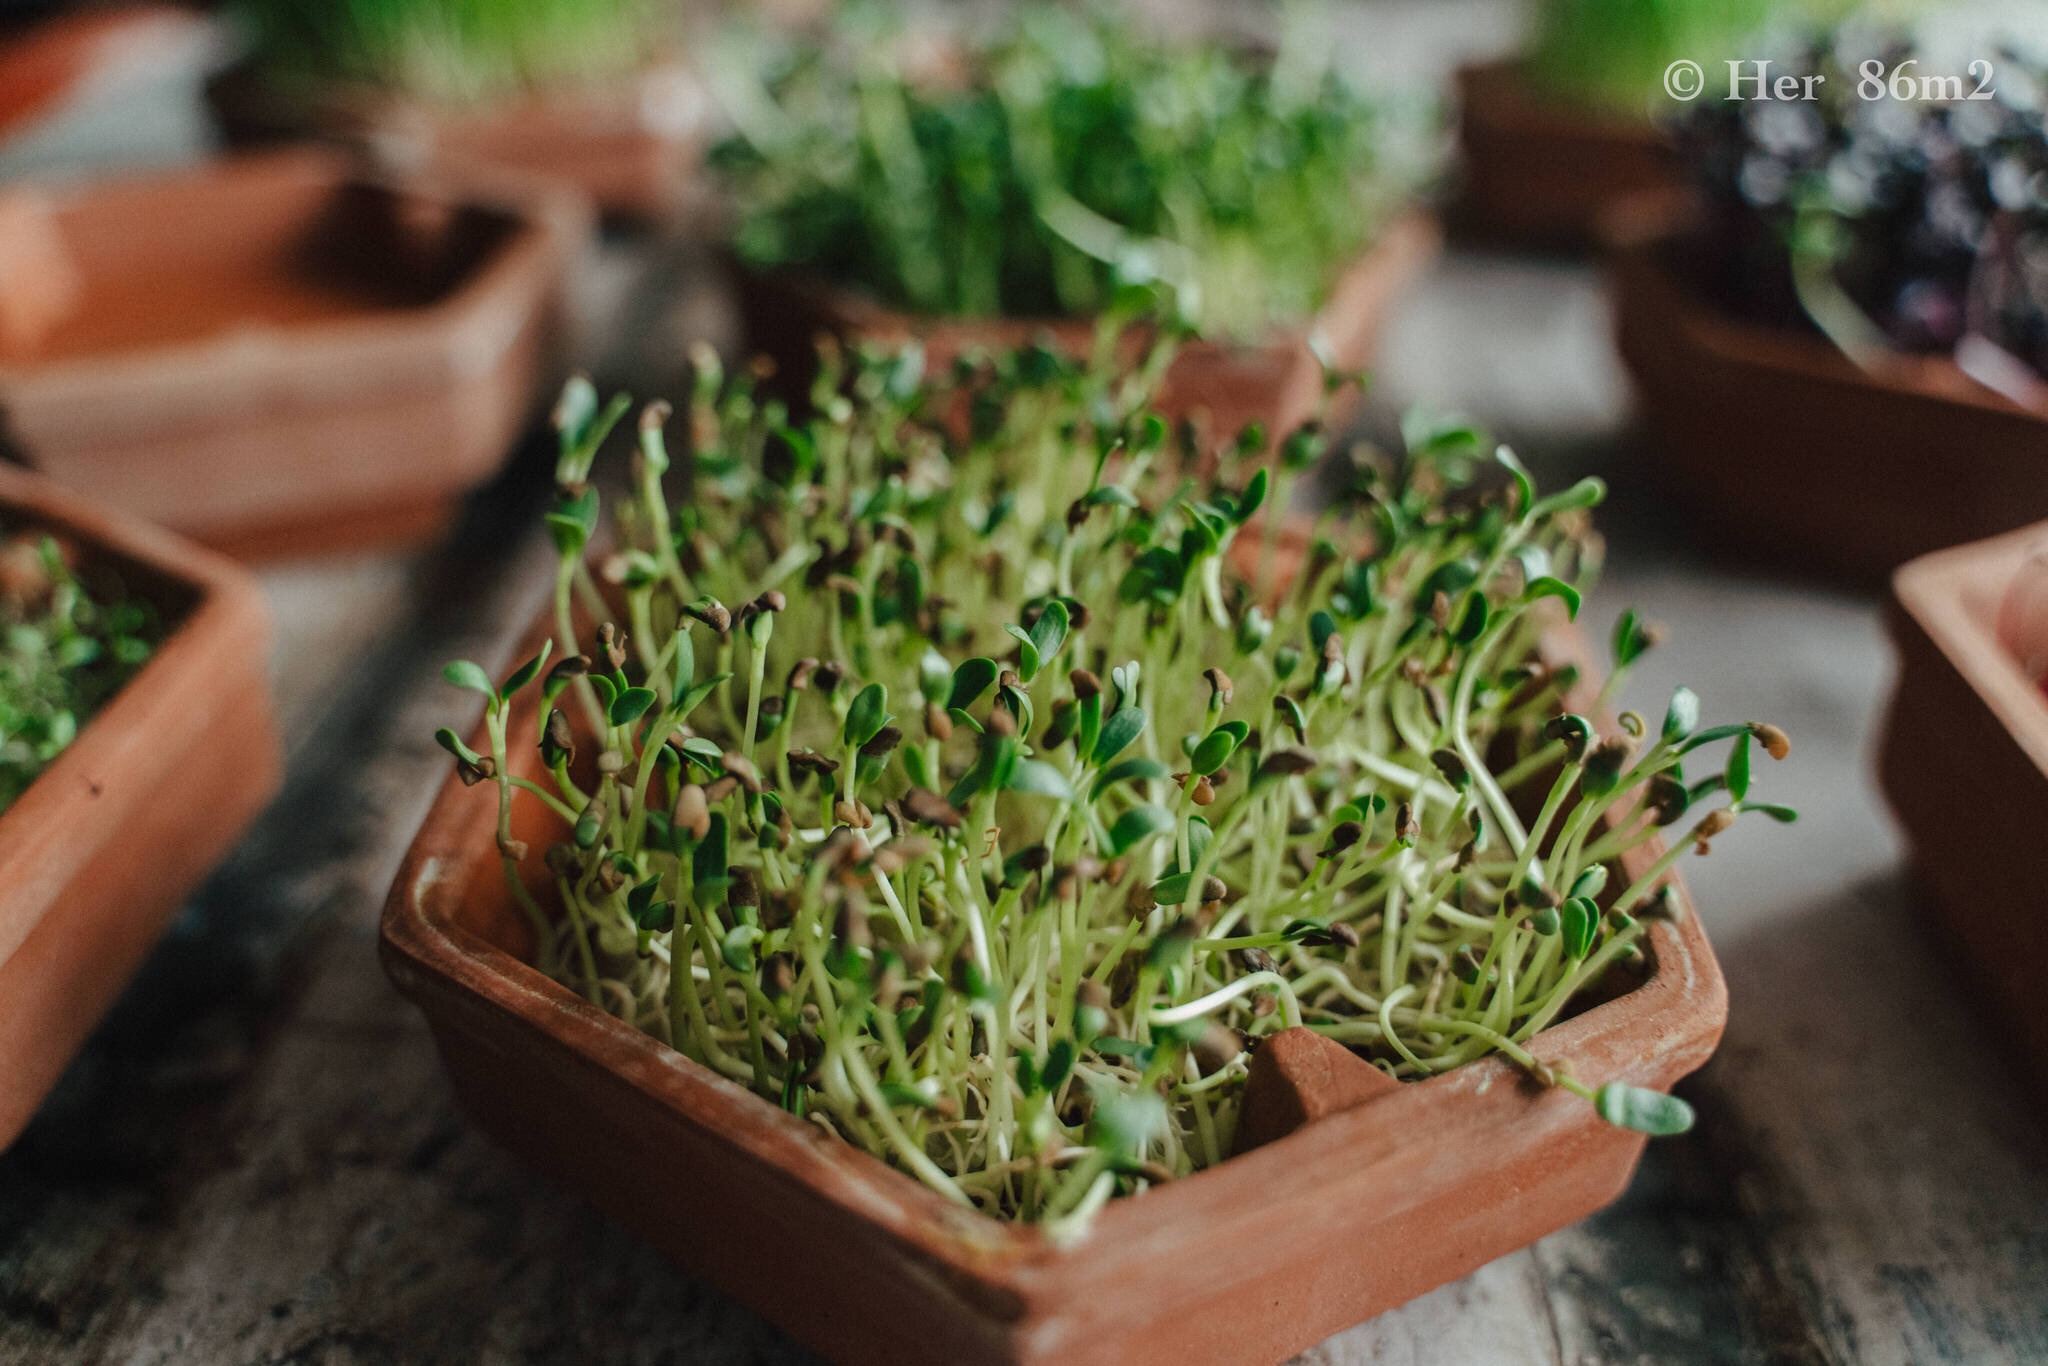
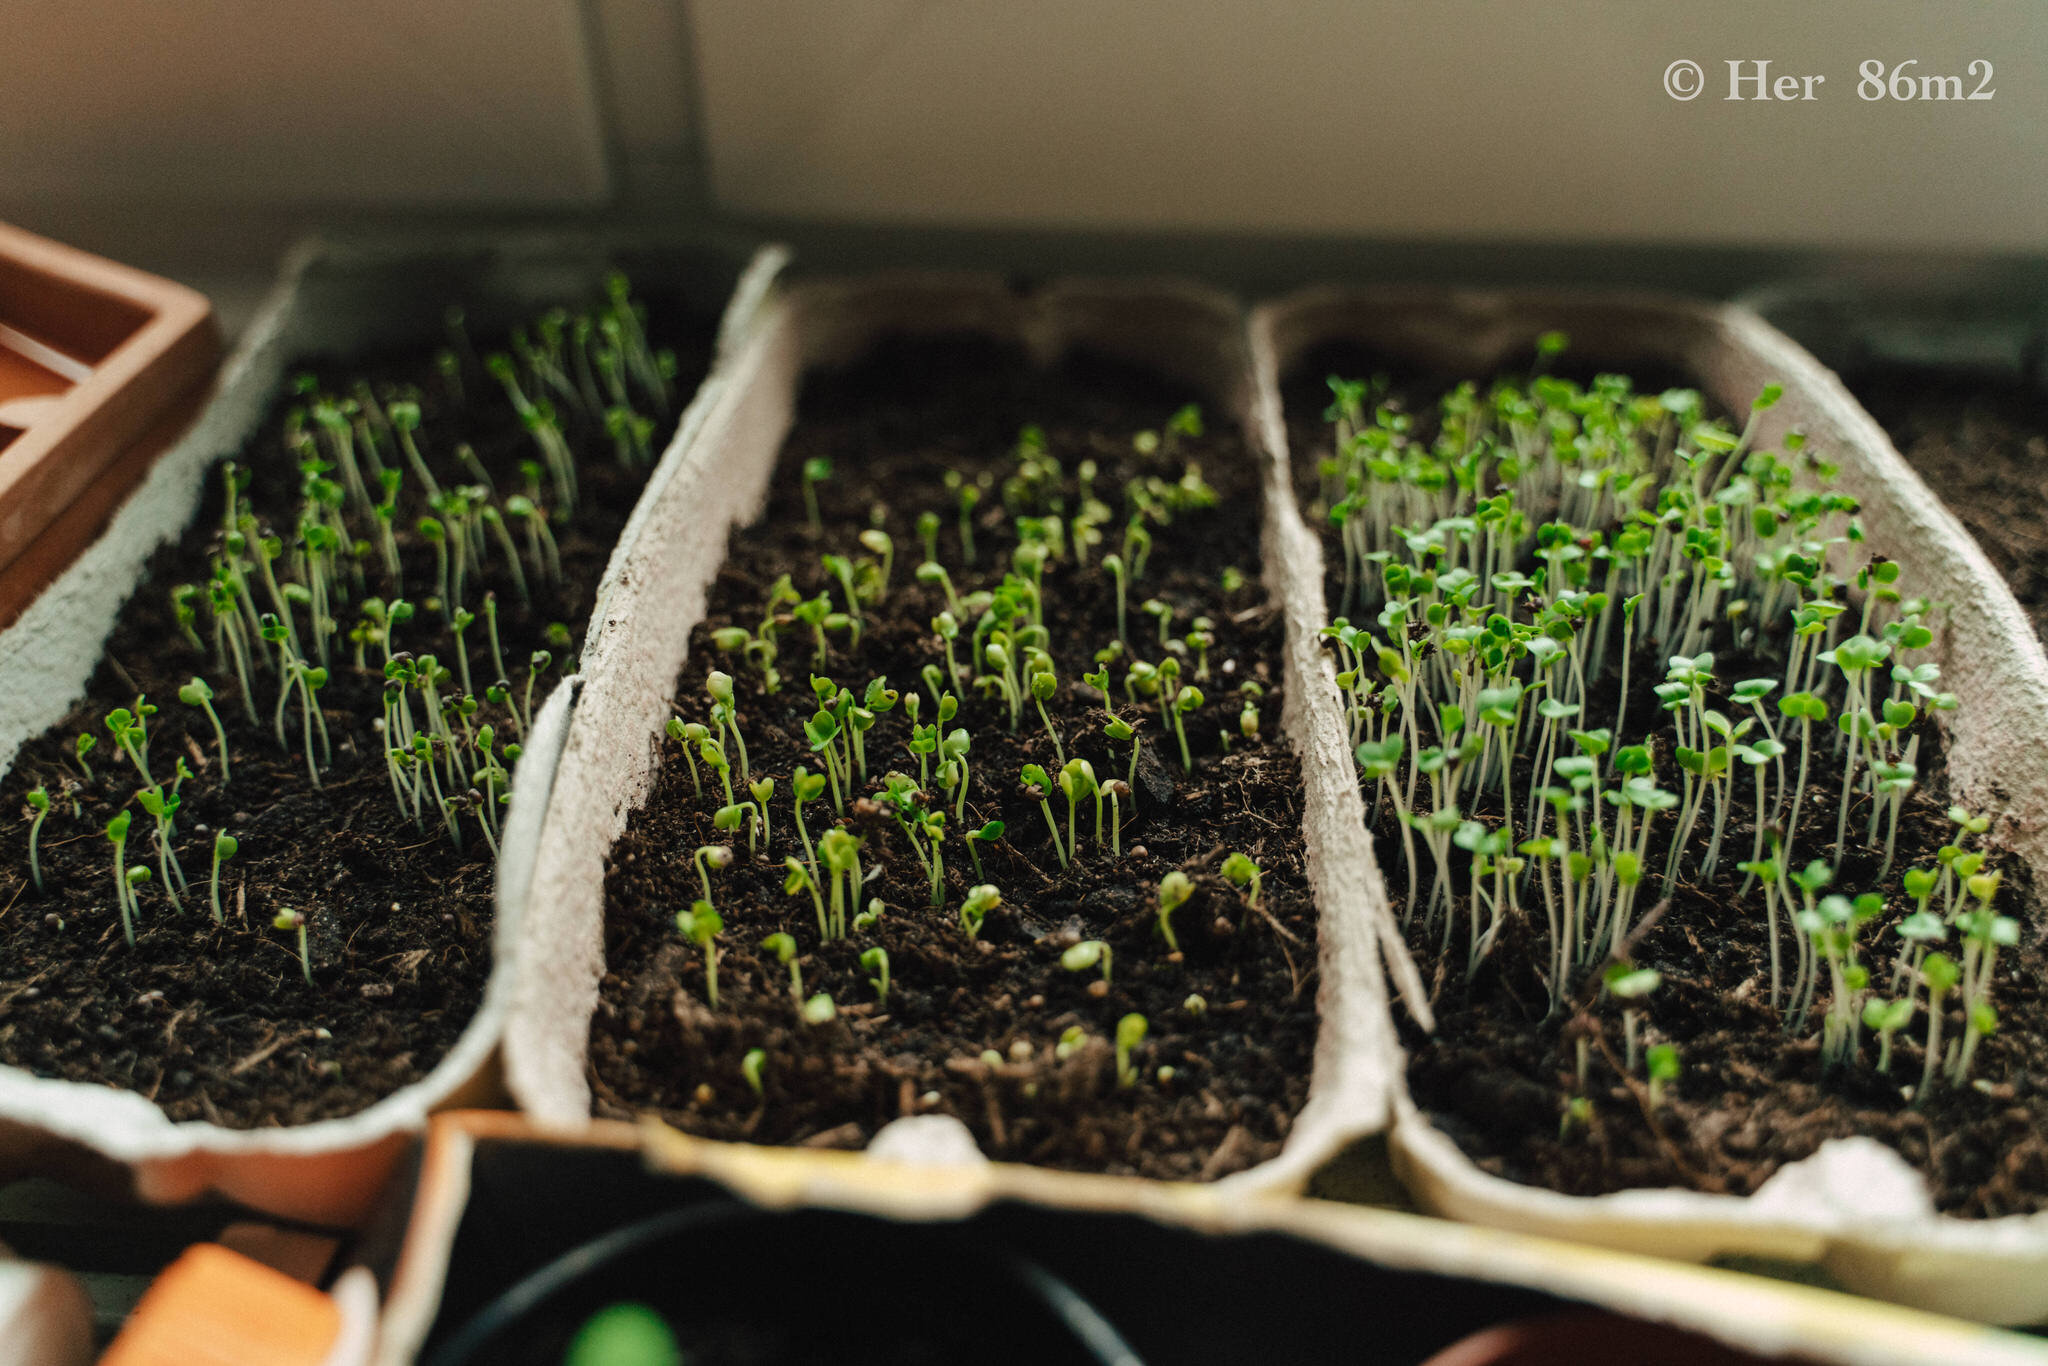
In contrast to microgreens, sprouts are not grown on soil but in a glass sprouting jar, sprout tower, food container or even milk carton. In my opinion, a terracotta sprout tower is the most efficient way to grow sprouts. Or food container with air vent.
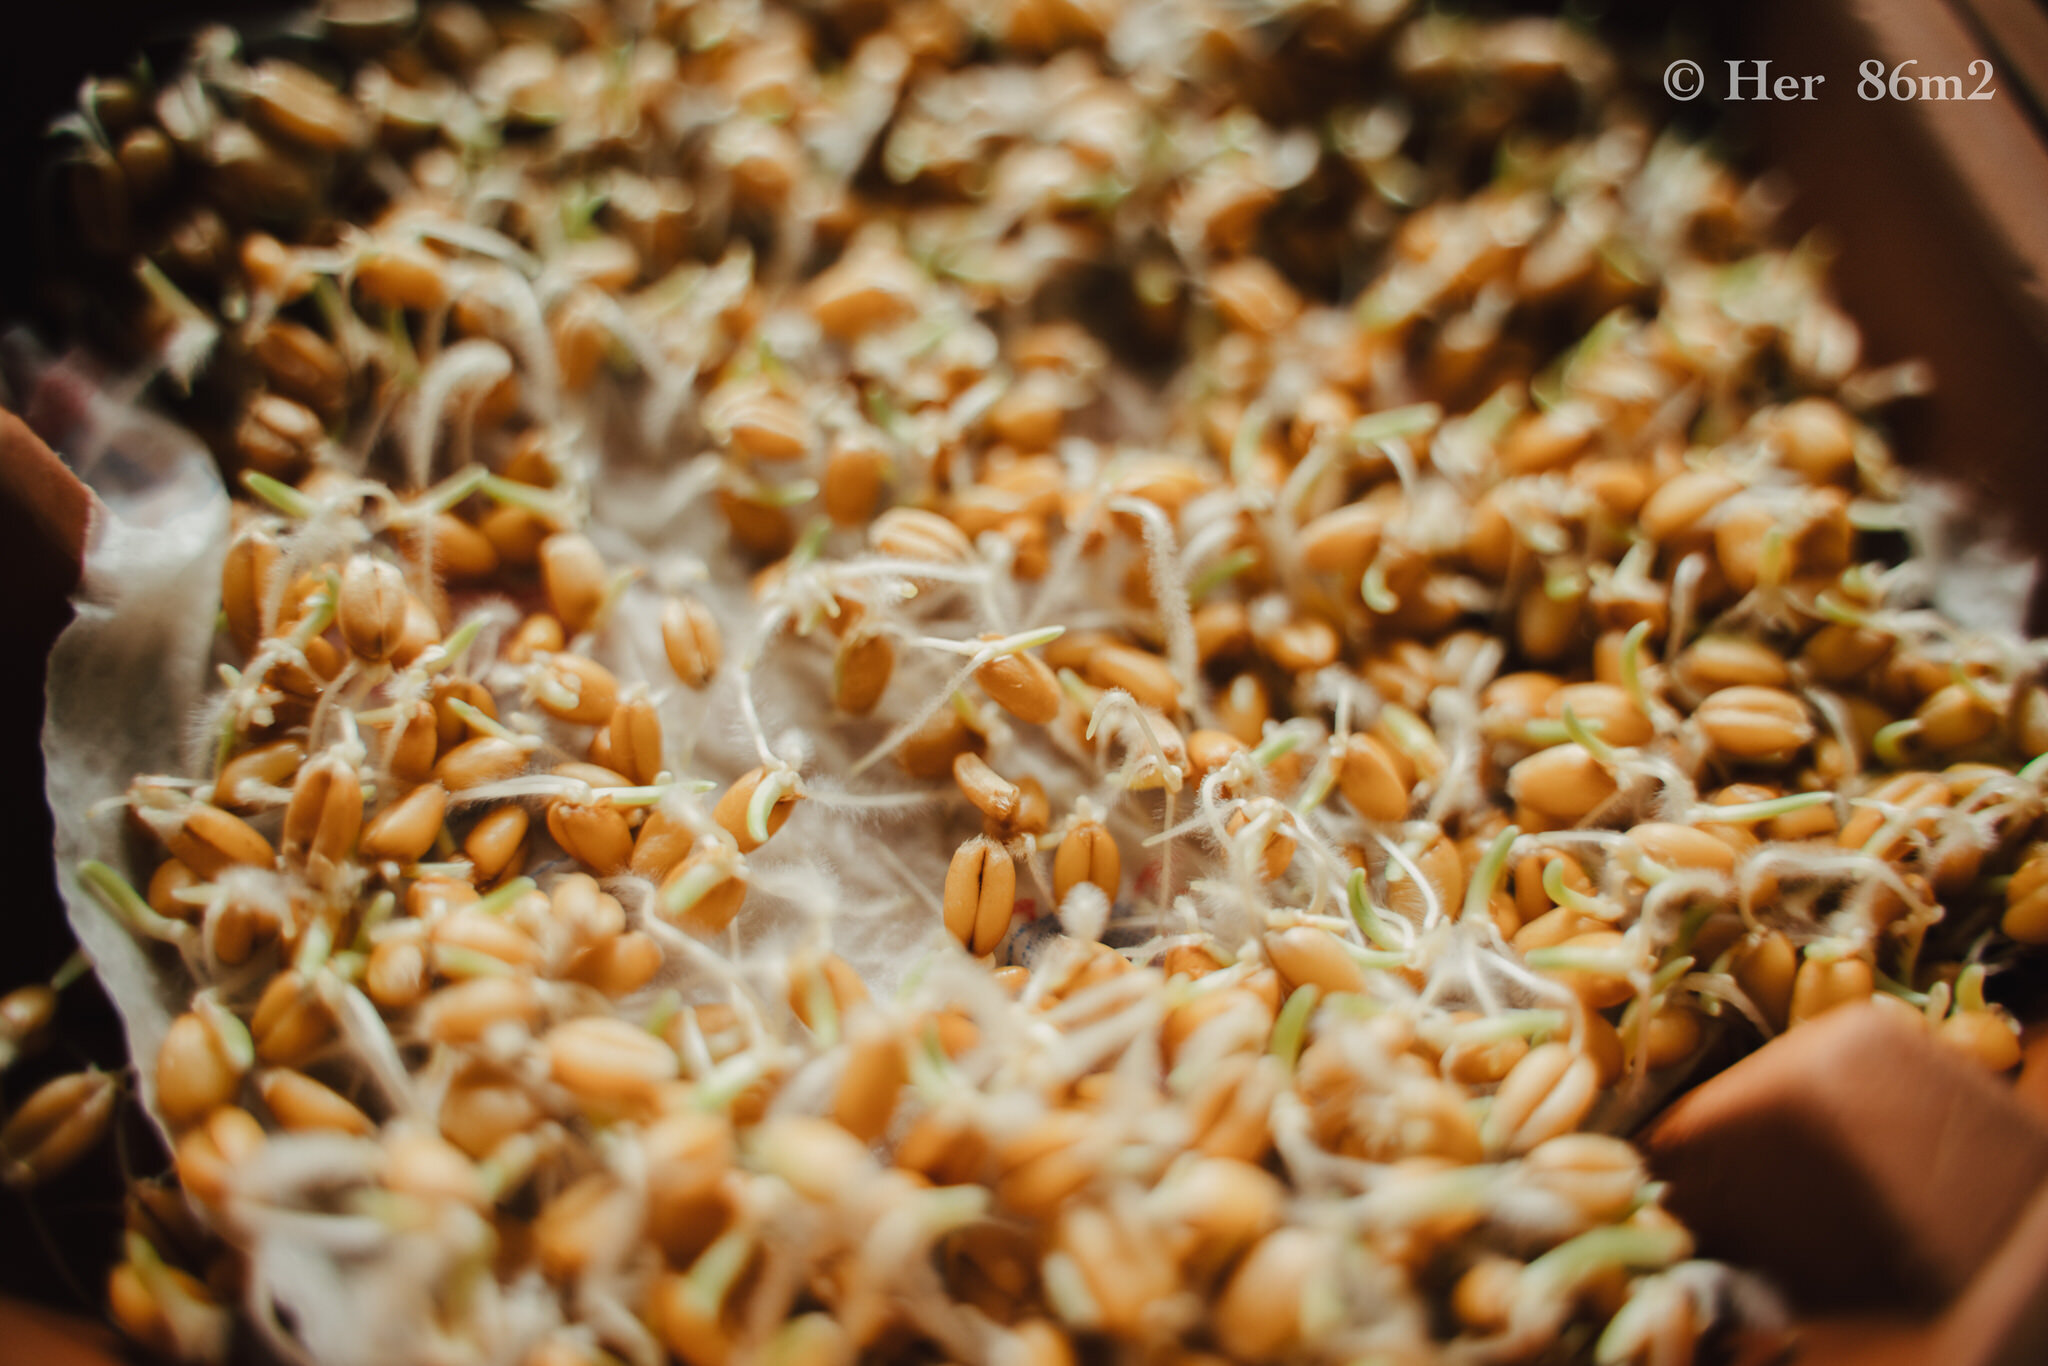
Seeds should be soaked overnight or for a few hours prior to sowing.
I put one sheet of toilet paper or kitchen paper in each of the tray to ensure that the seeds get moisture and do not slip through the holes in the bowls, spread the seeds generously on paper and water into the top bowl 2-3 times a day.
In the first 2 days of germination, I stack the trays close together without a light slot.
Excess water in the lowest bowl can be used again for watering indoor plant. Since there's no soil, they can be eaten completely including the root. The roots also contain a lot of nutrients and vitamins. Sprouts also don't need daylight like microgreens and can be harvested in 3-7 days after sowing. The later you harvest, the less intense the flavor is.
They require very little maintenance, little space, and can be planted all year round and have a high concentration of nutrients and supply the body with an above-average amount of vitamins, minerals and trace elements.
In principle, any seed can be used as a microgreen/sprout. Fast-growing herbs and vegetables such as salads, broccoli, beans, peas, red cabbage, radishes, cauliflower, mint, basil, dill, coriander are particularly suitable.
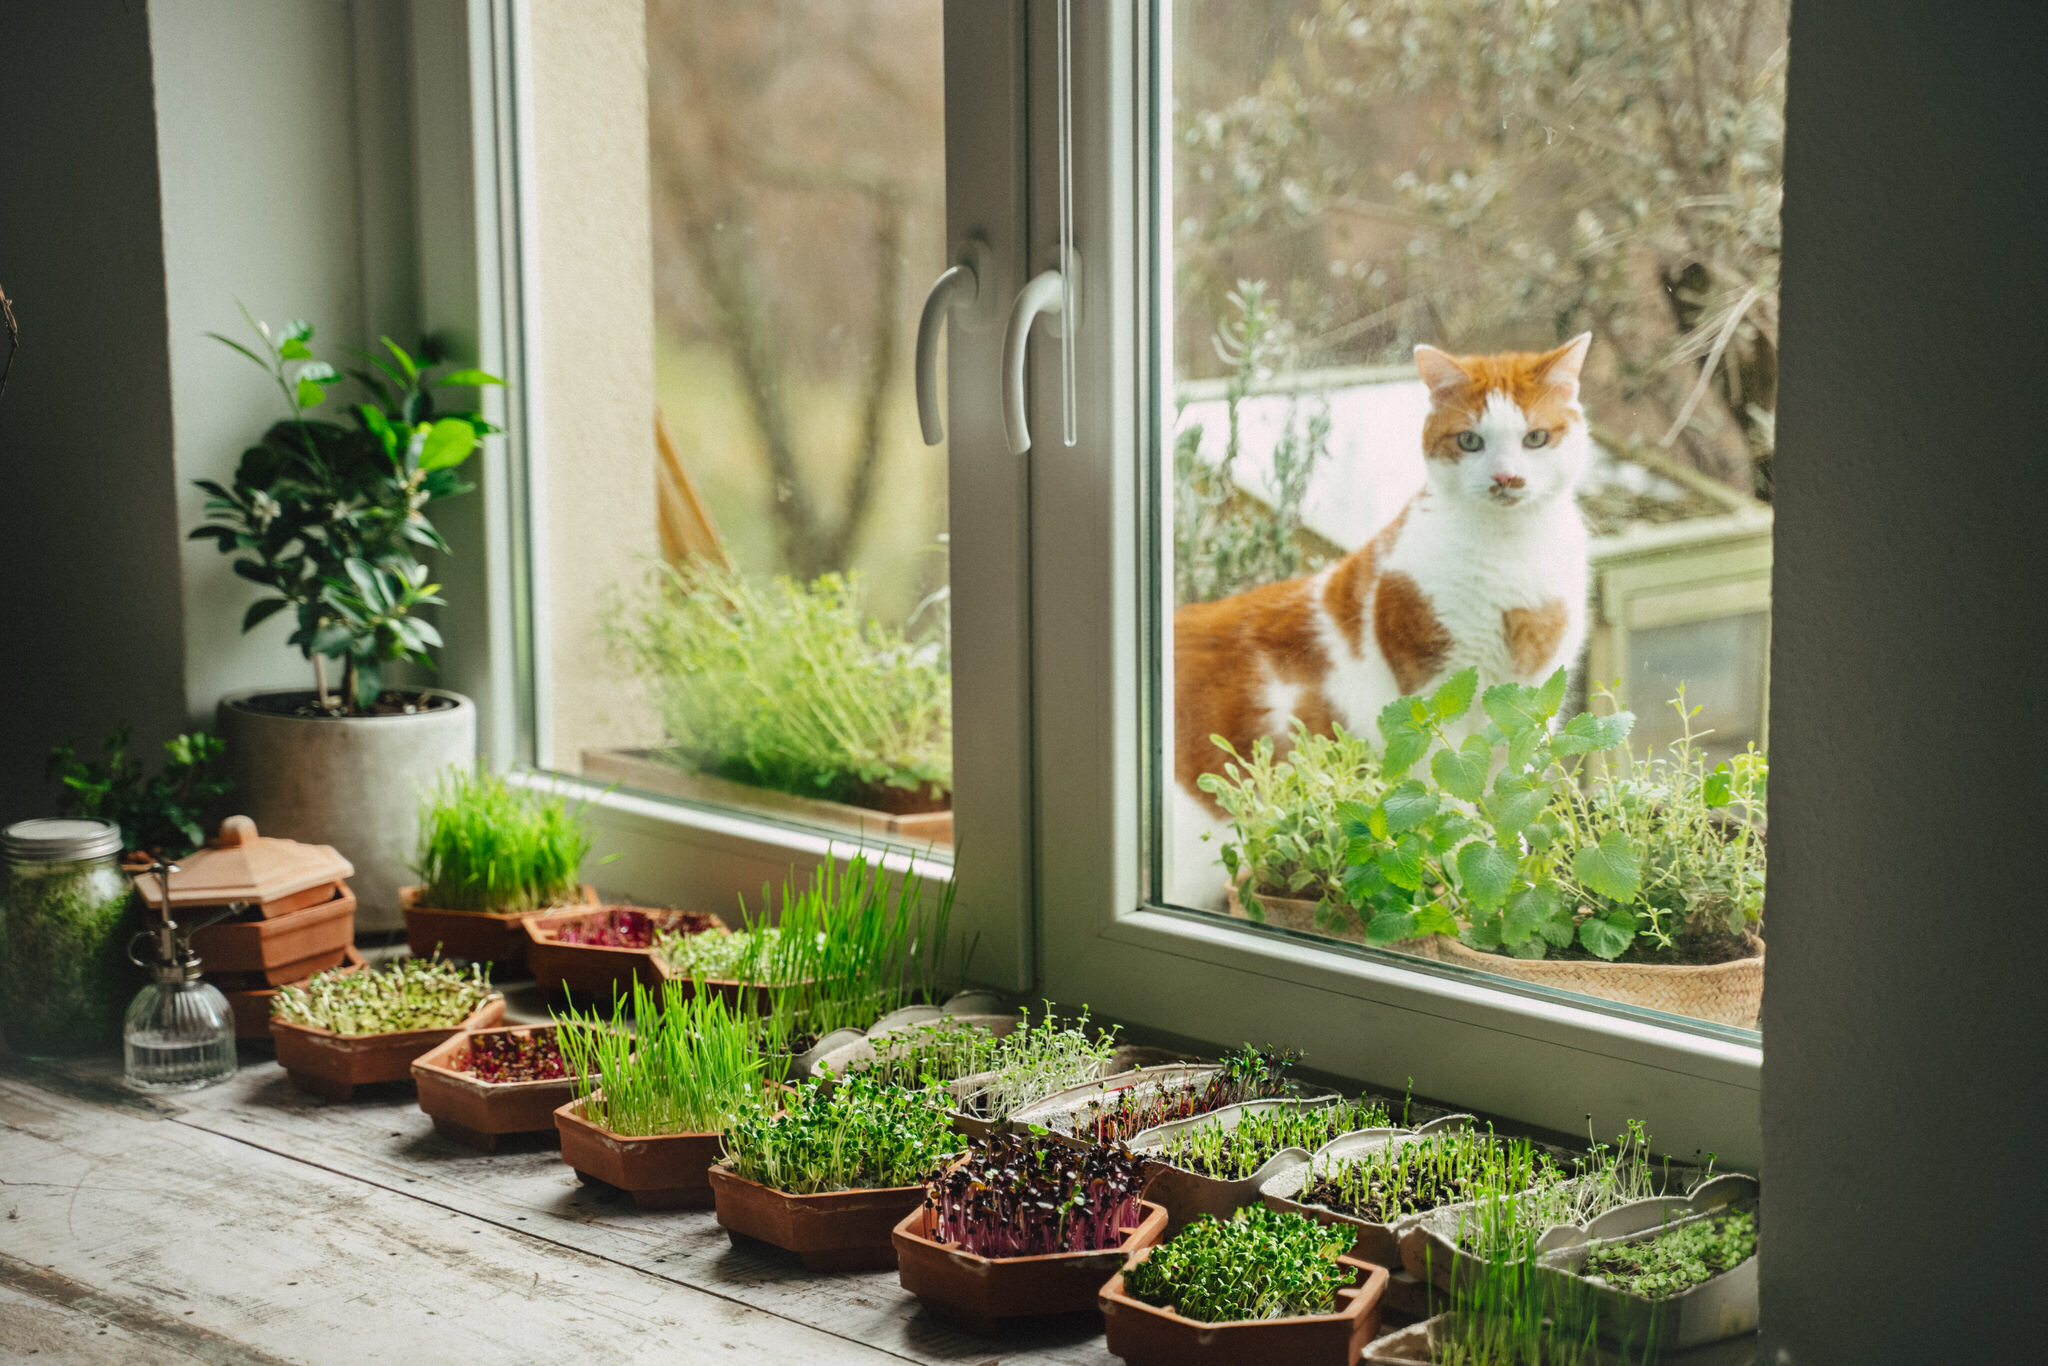
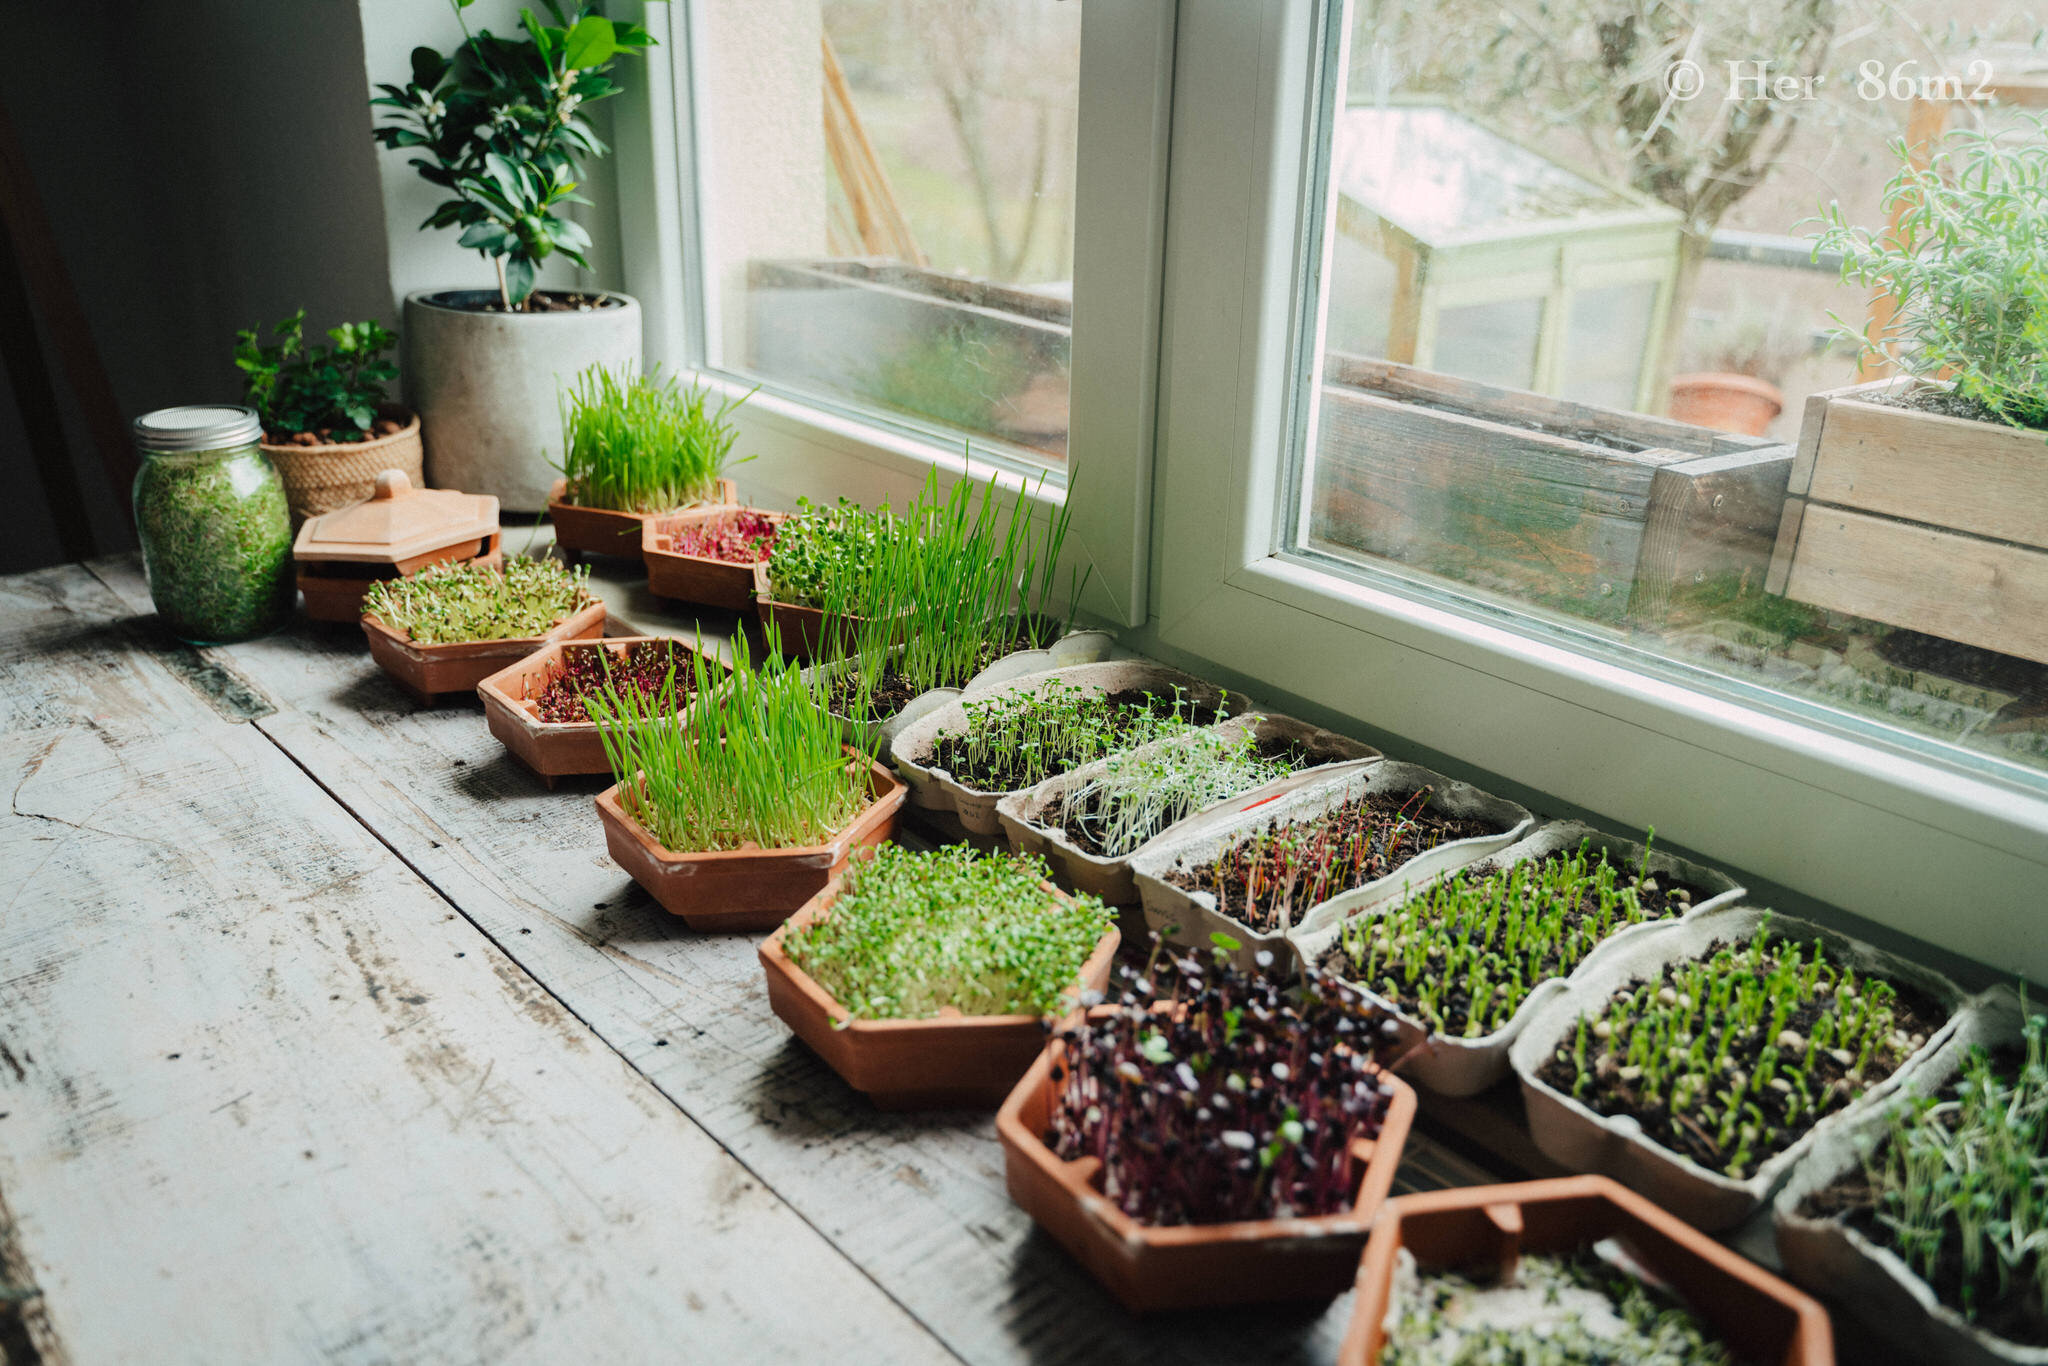
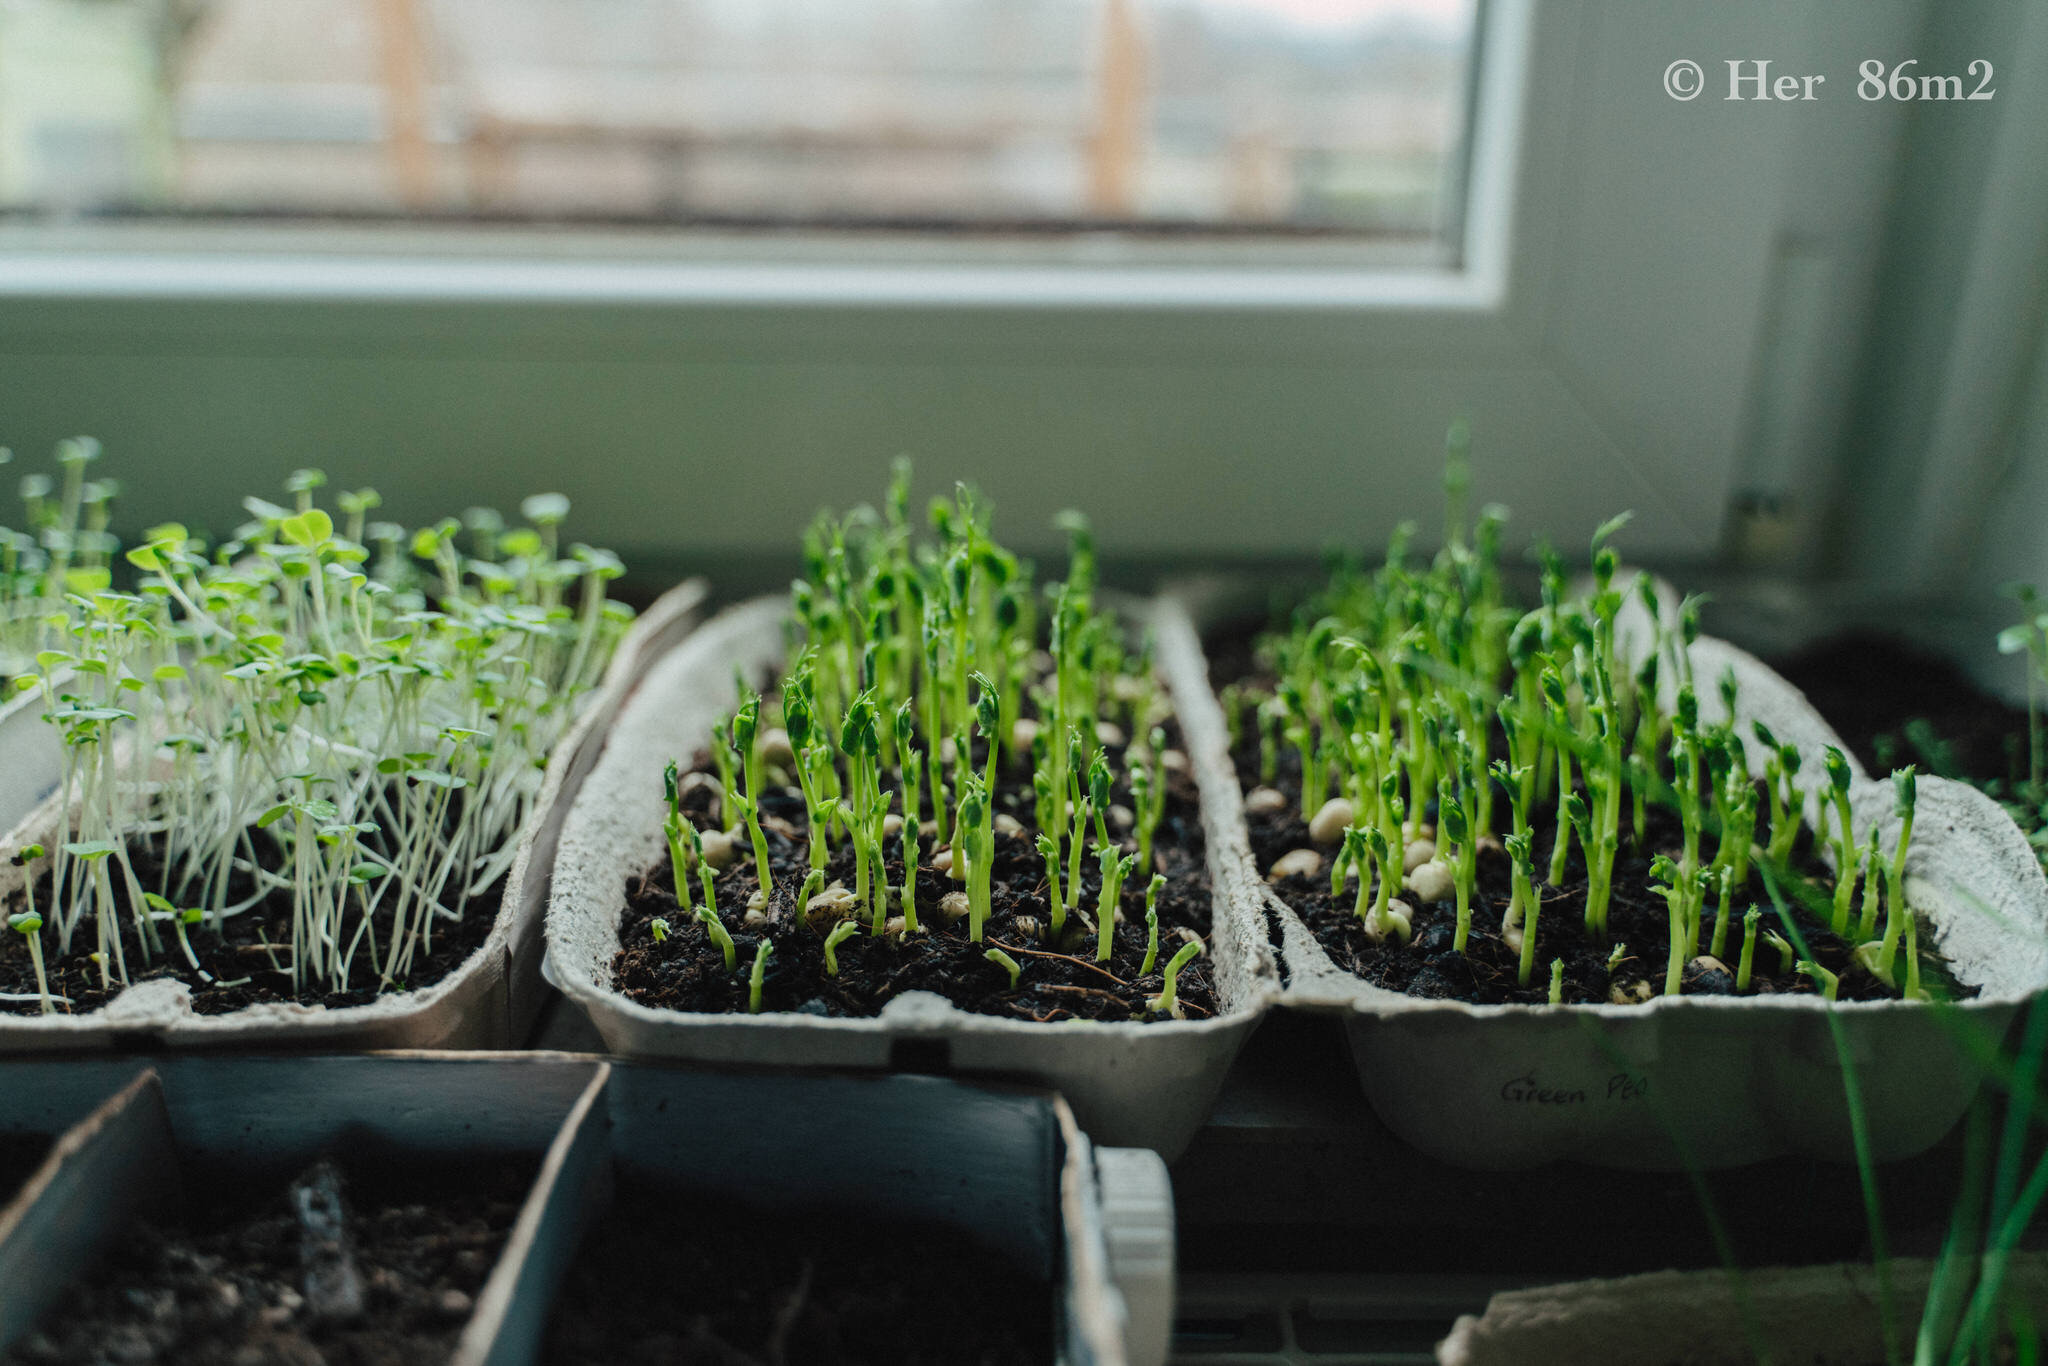
Window sills are particularly popular places in the indoor mini-garden, as this gives the superfood enough light. A warm and bright place without direct sunlight is ideal. The optimal growing temperature is between 18 and 22 °C. If your home doesn't have much sunlight coming in, consider buying a LED grow light.
After harvesting I clean the bowls with brush and water and put them in water + apple cider vinegar overnight.
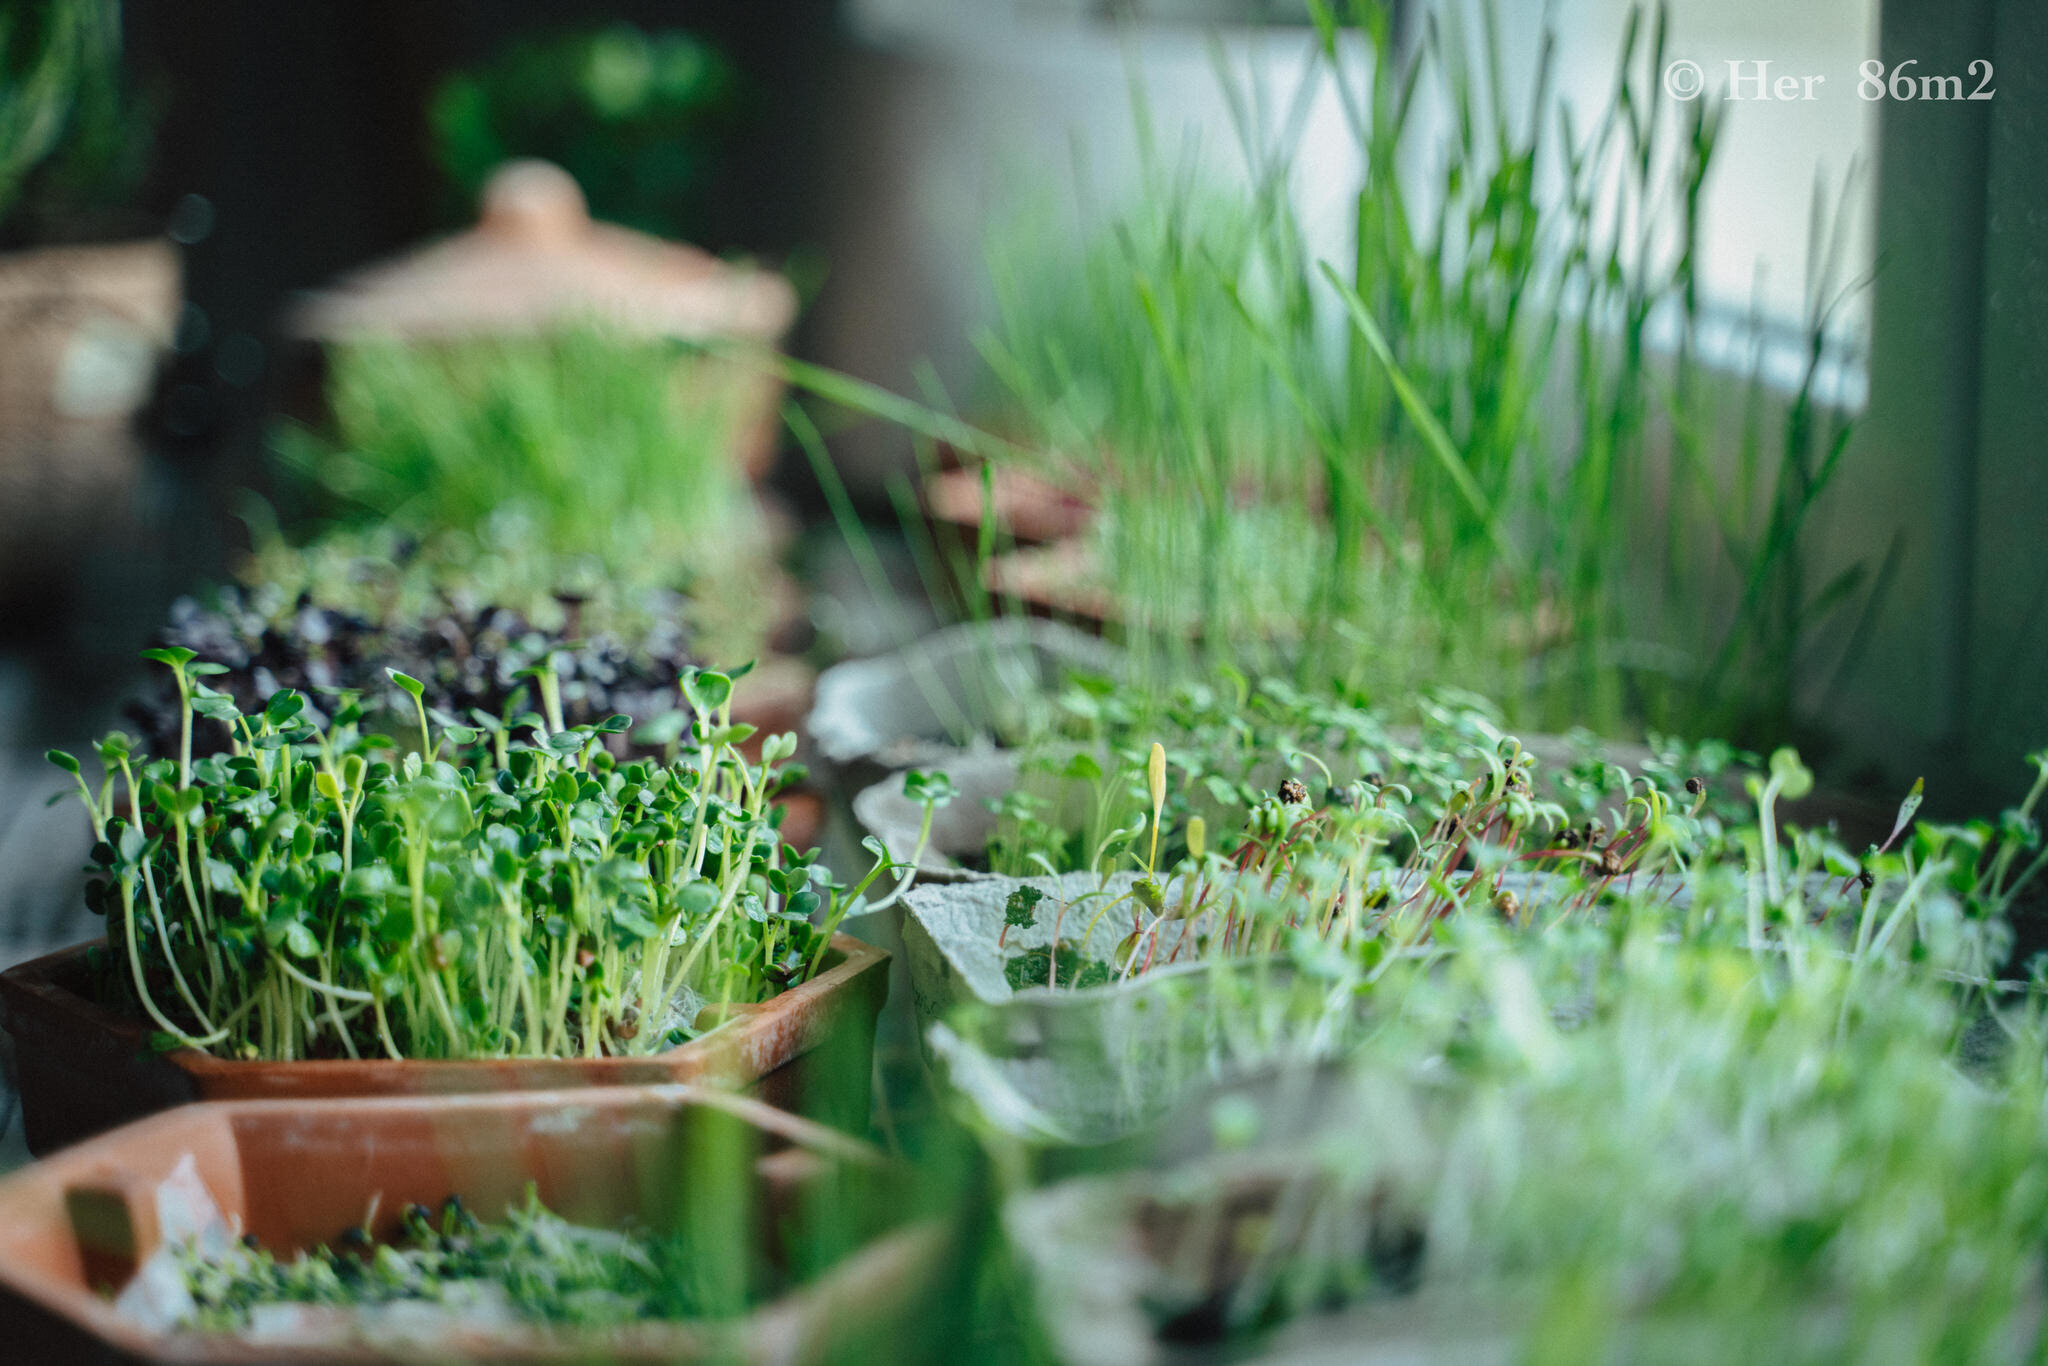
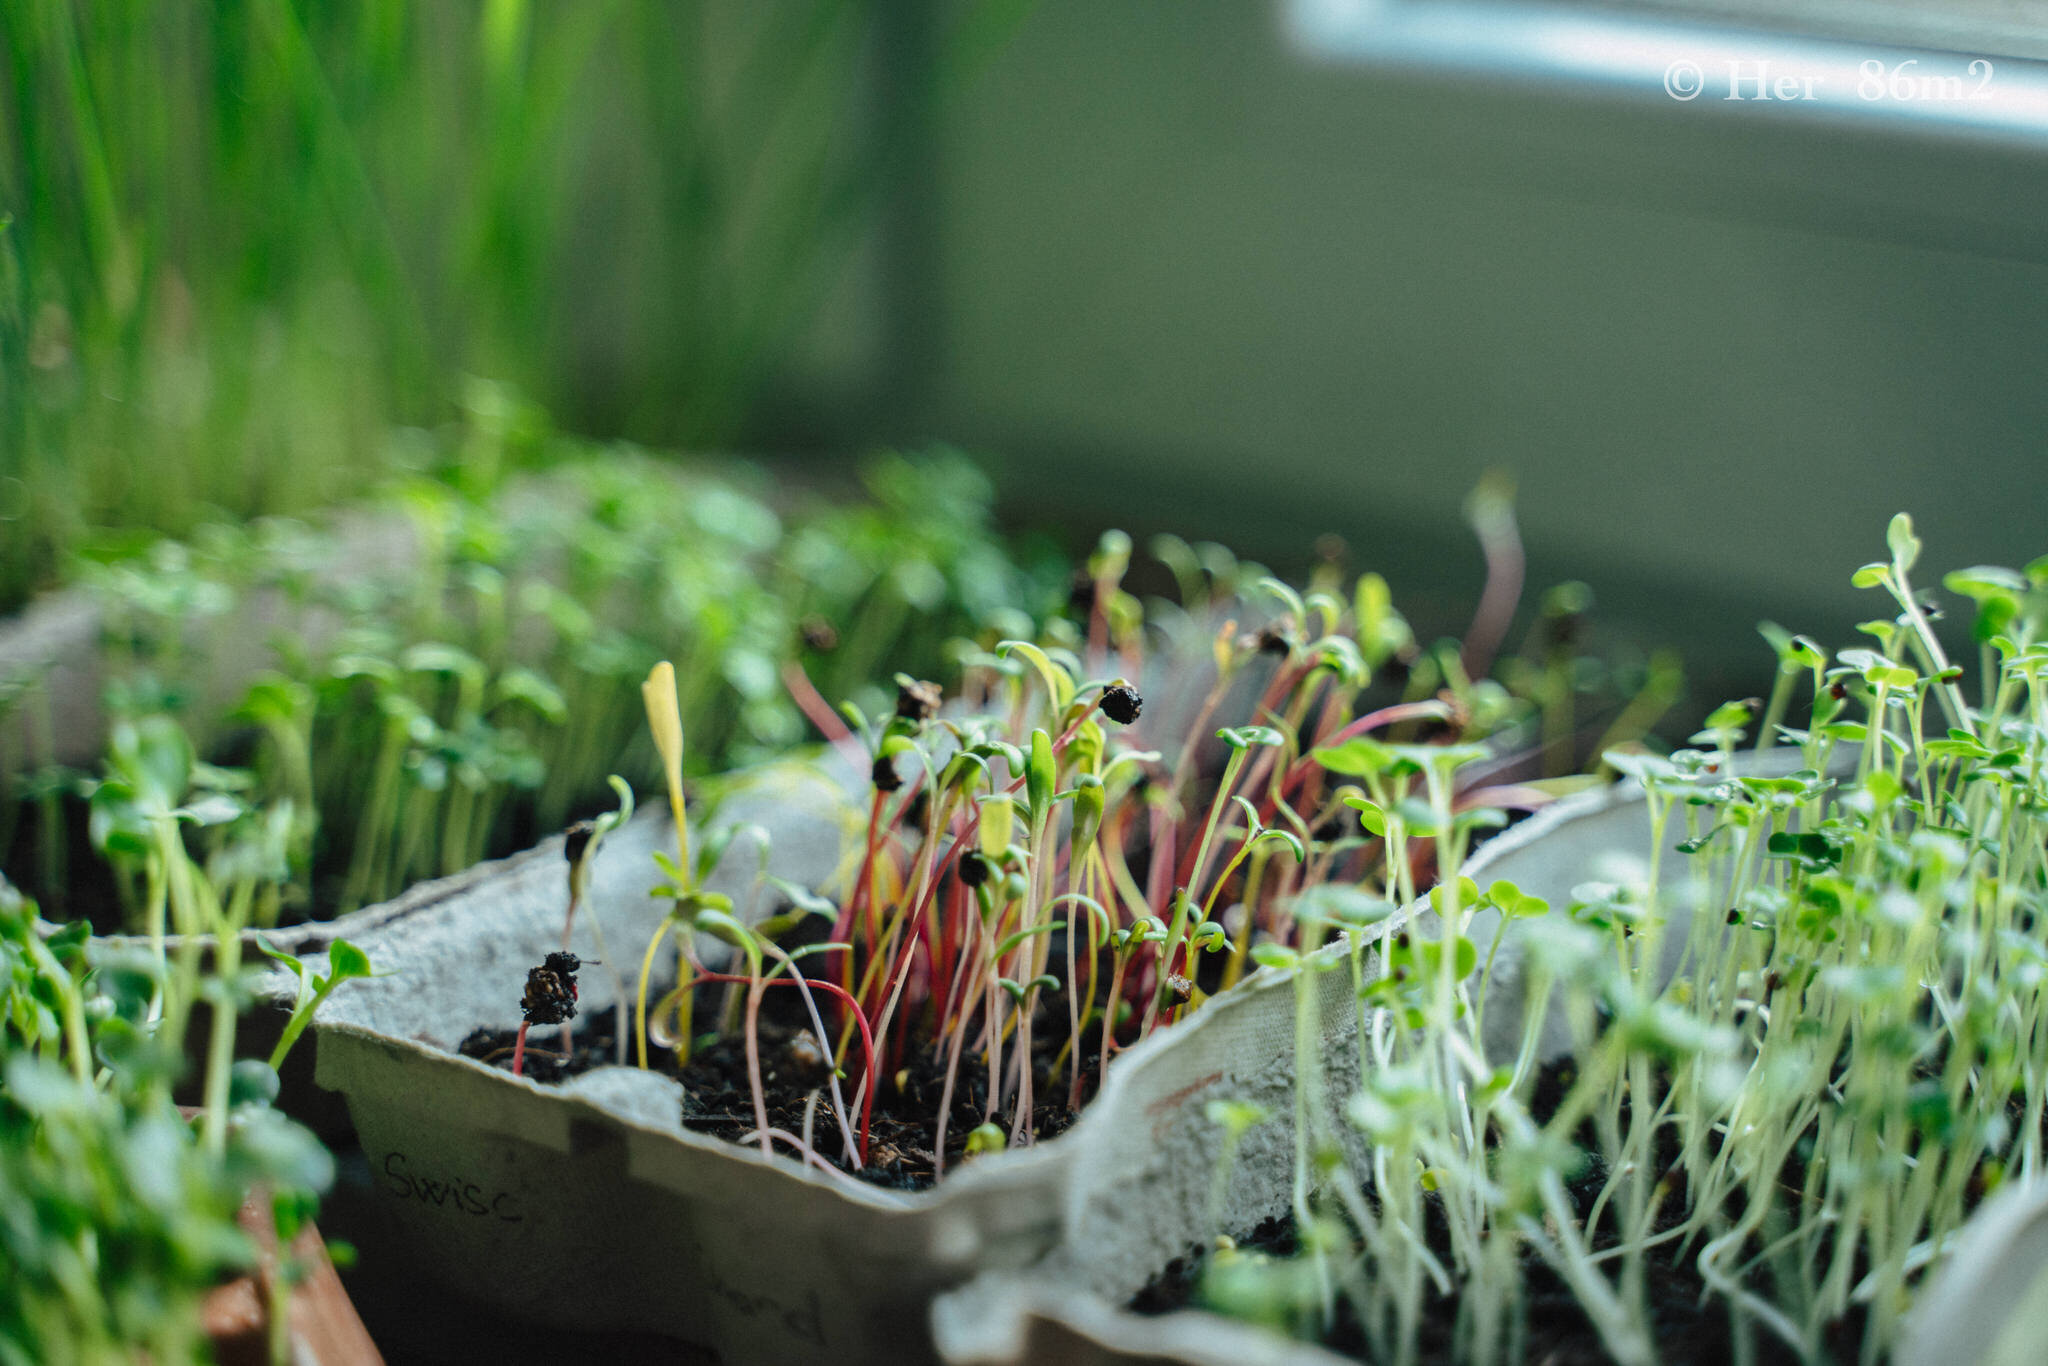
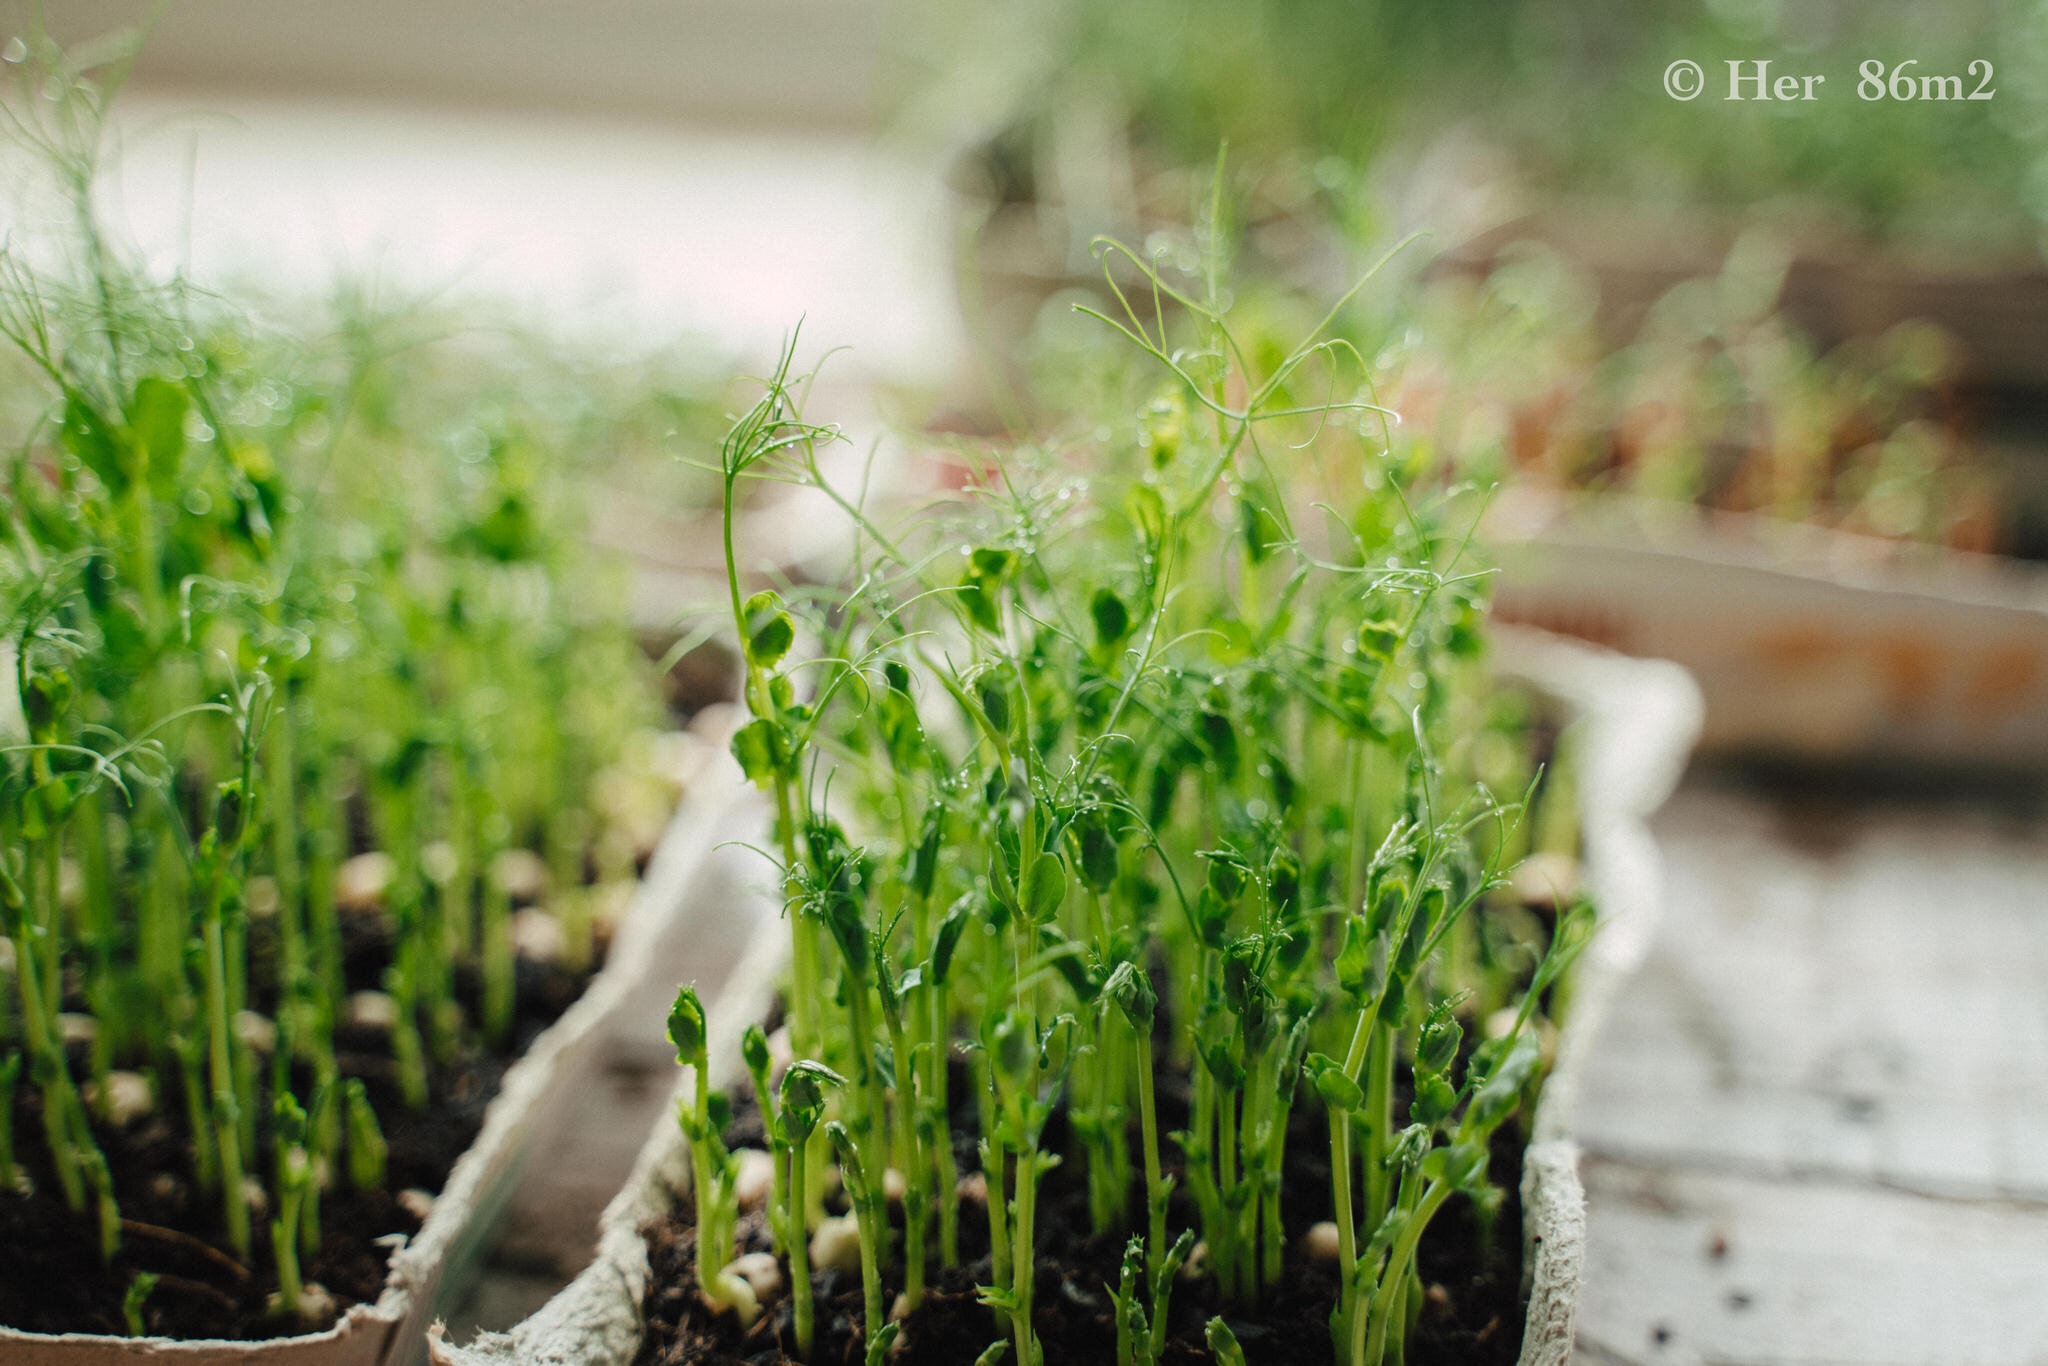
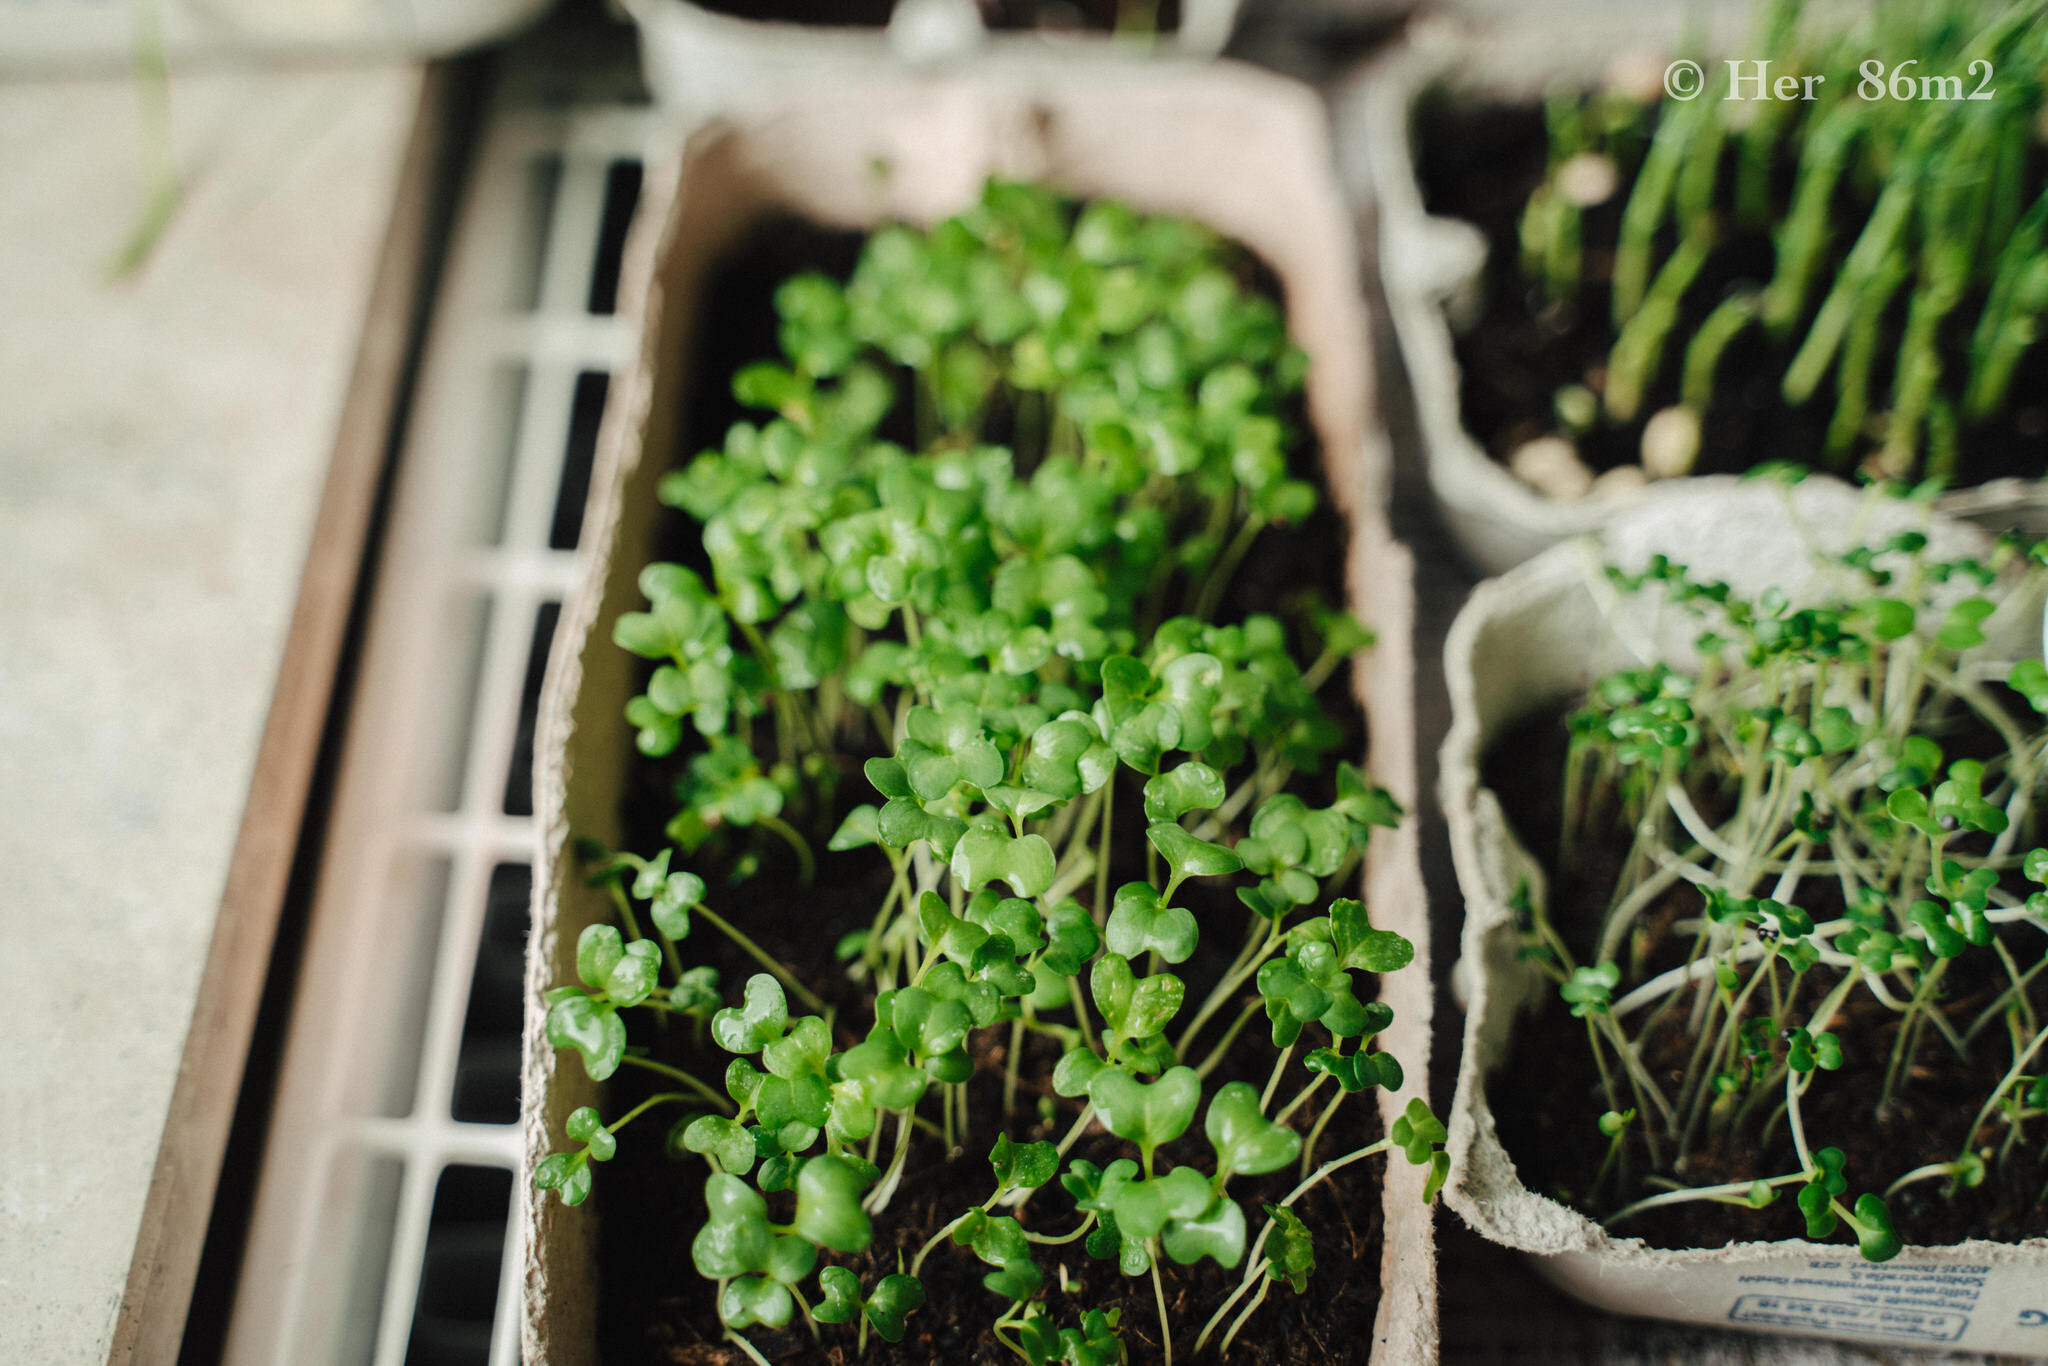
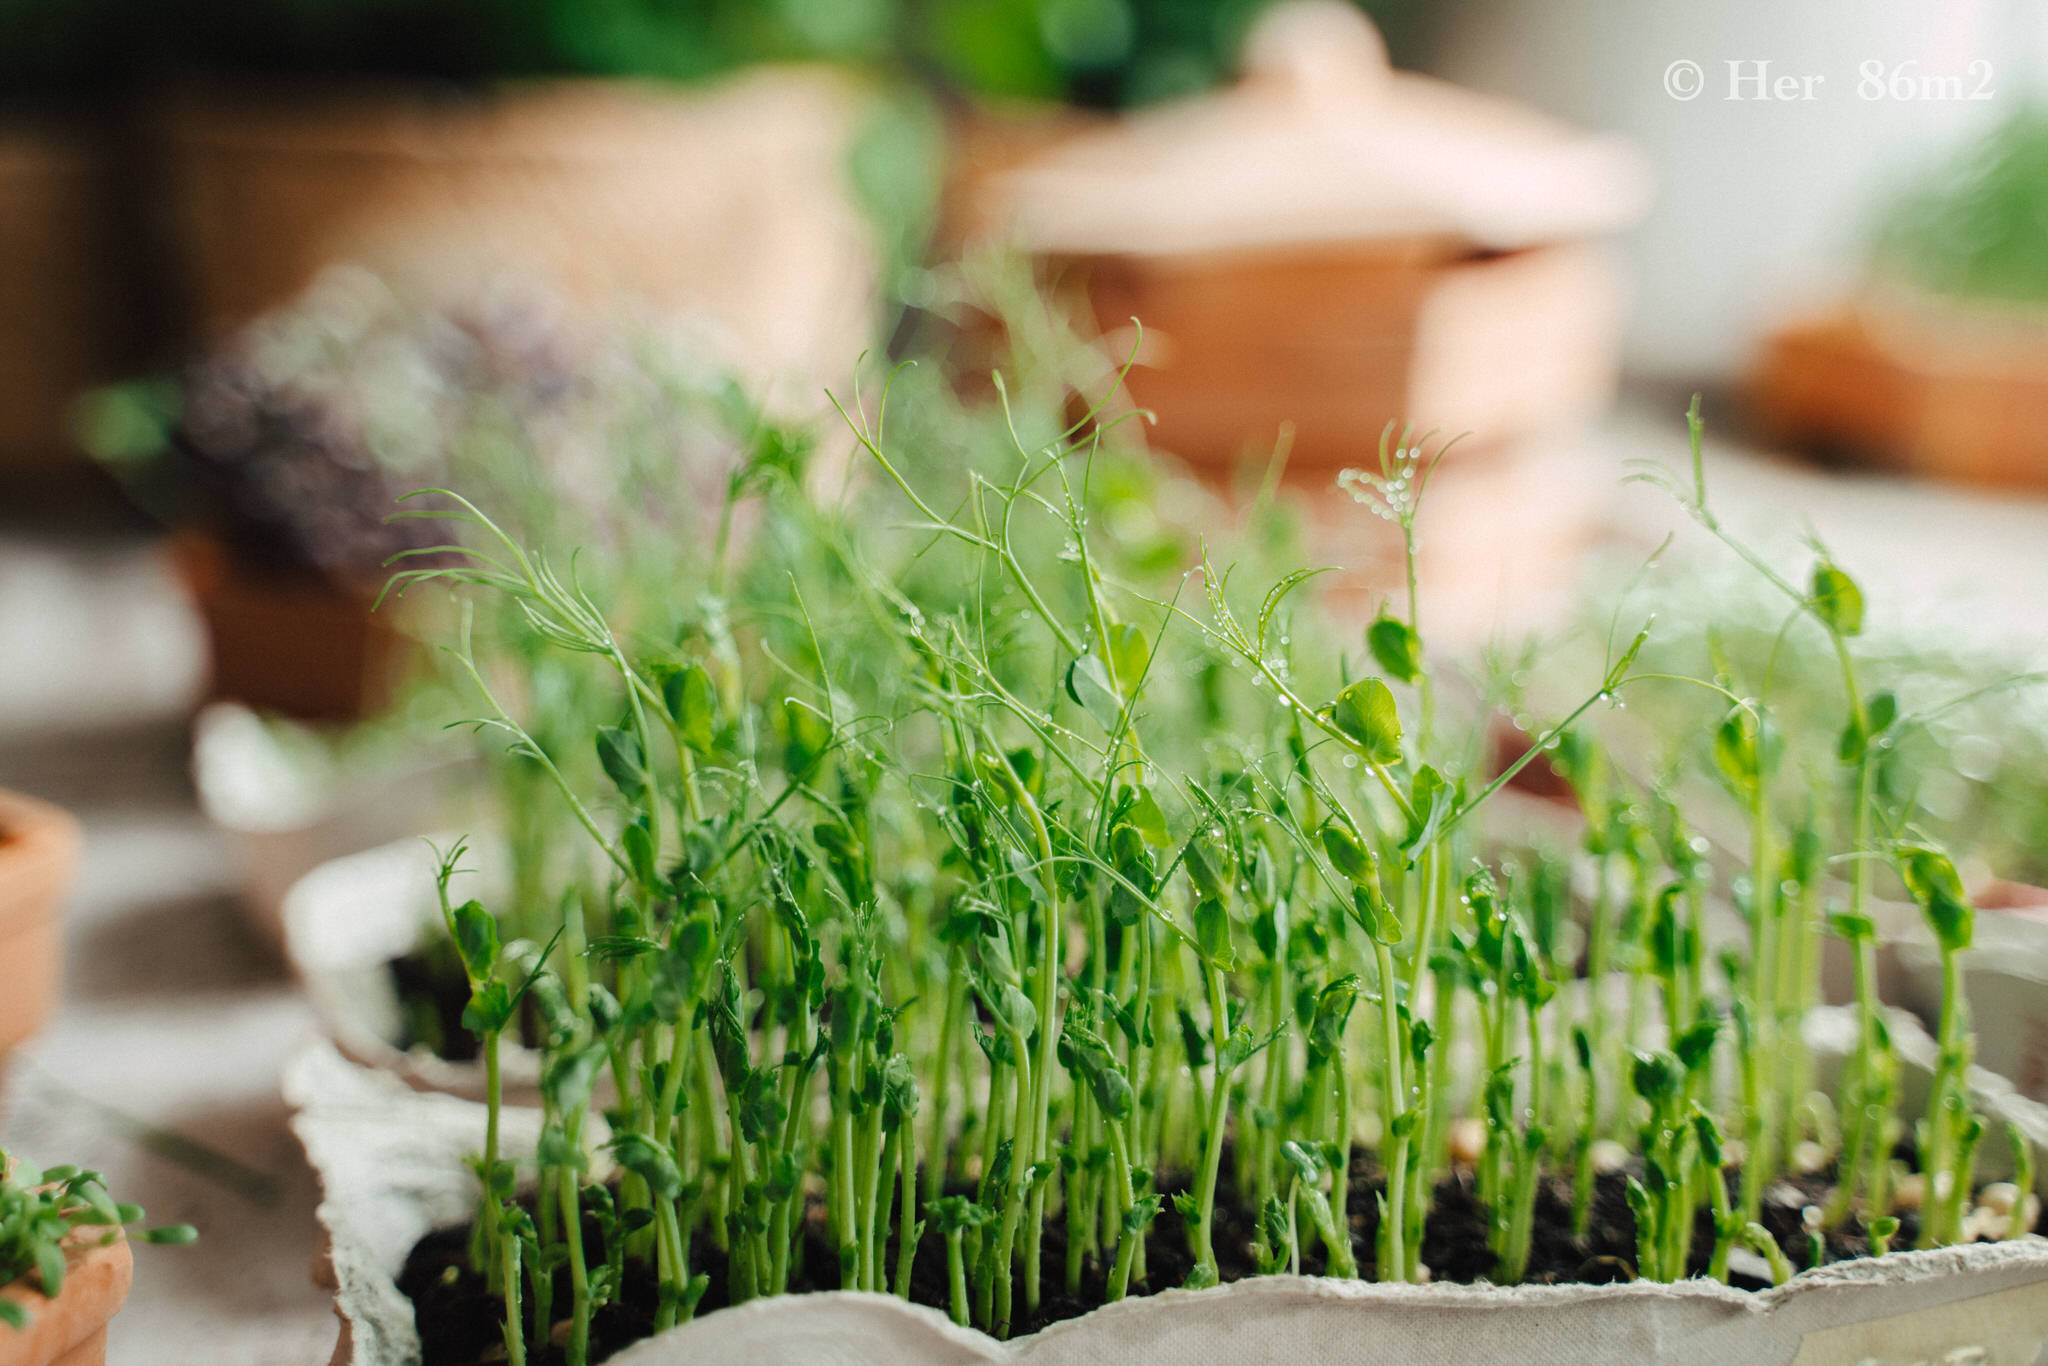
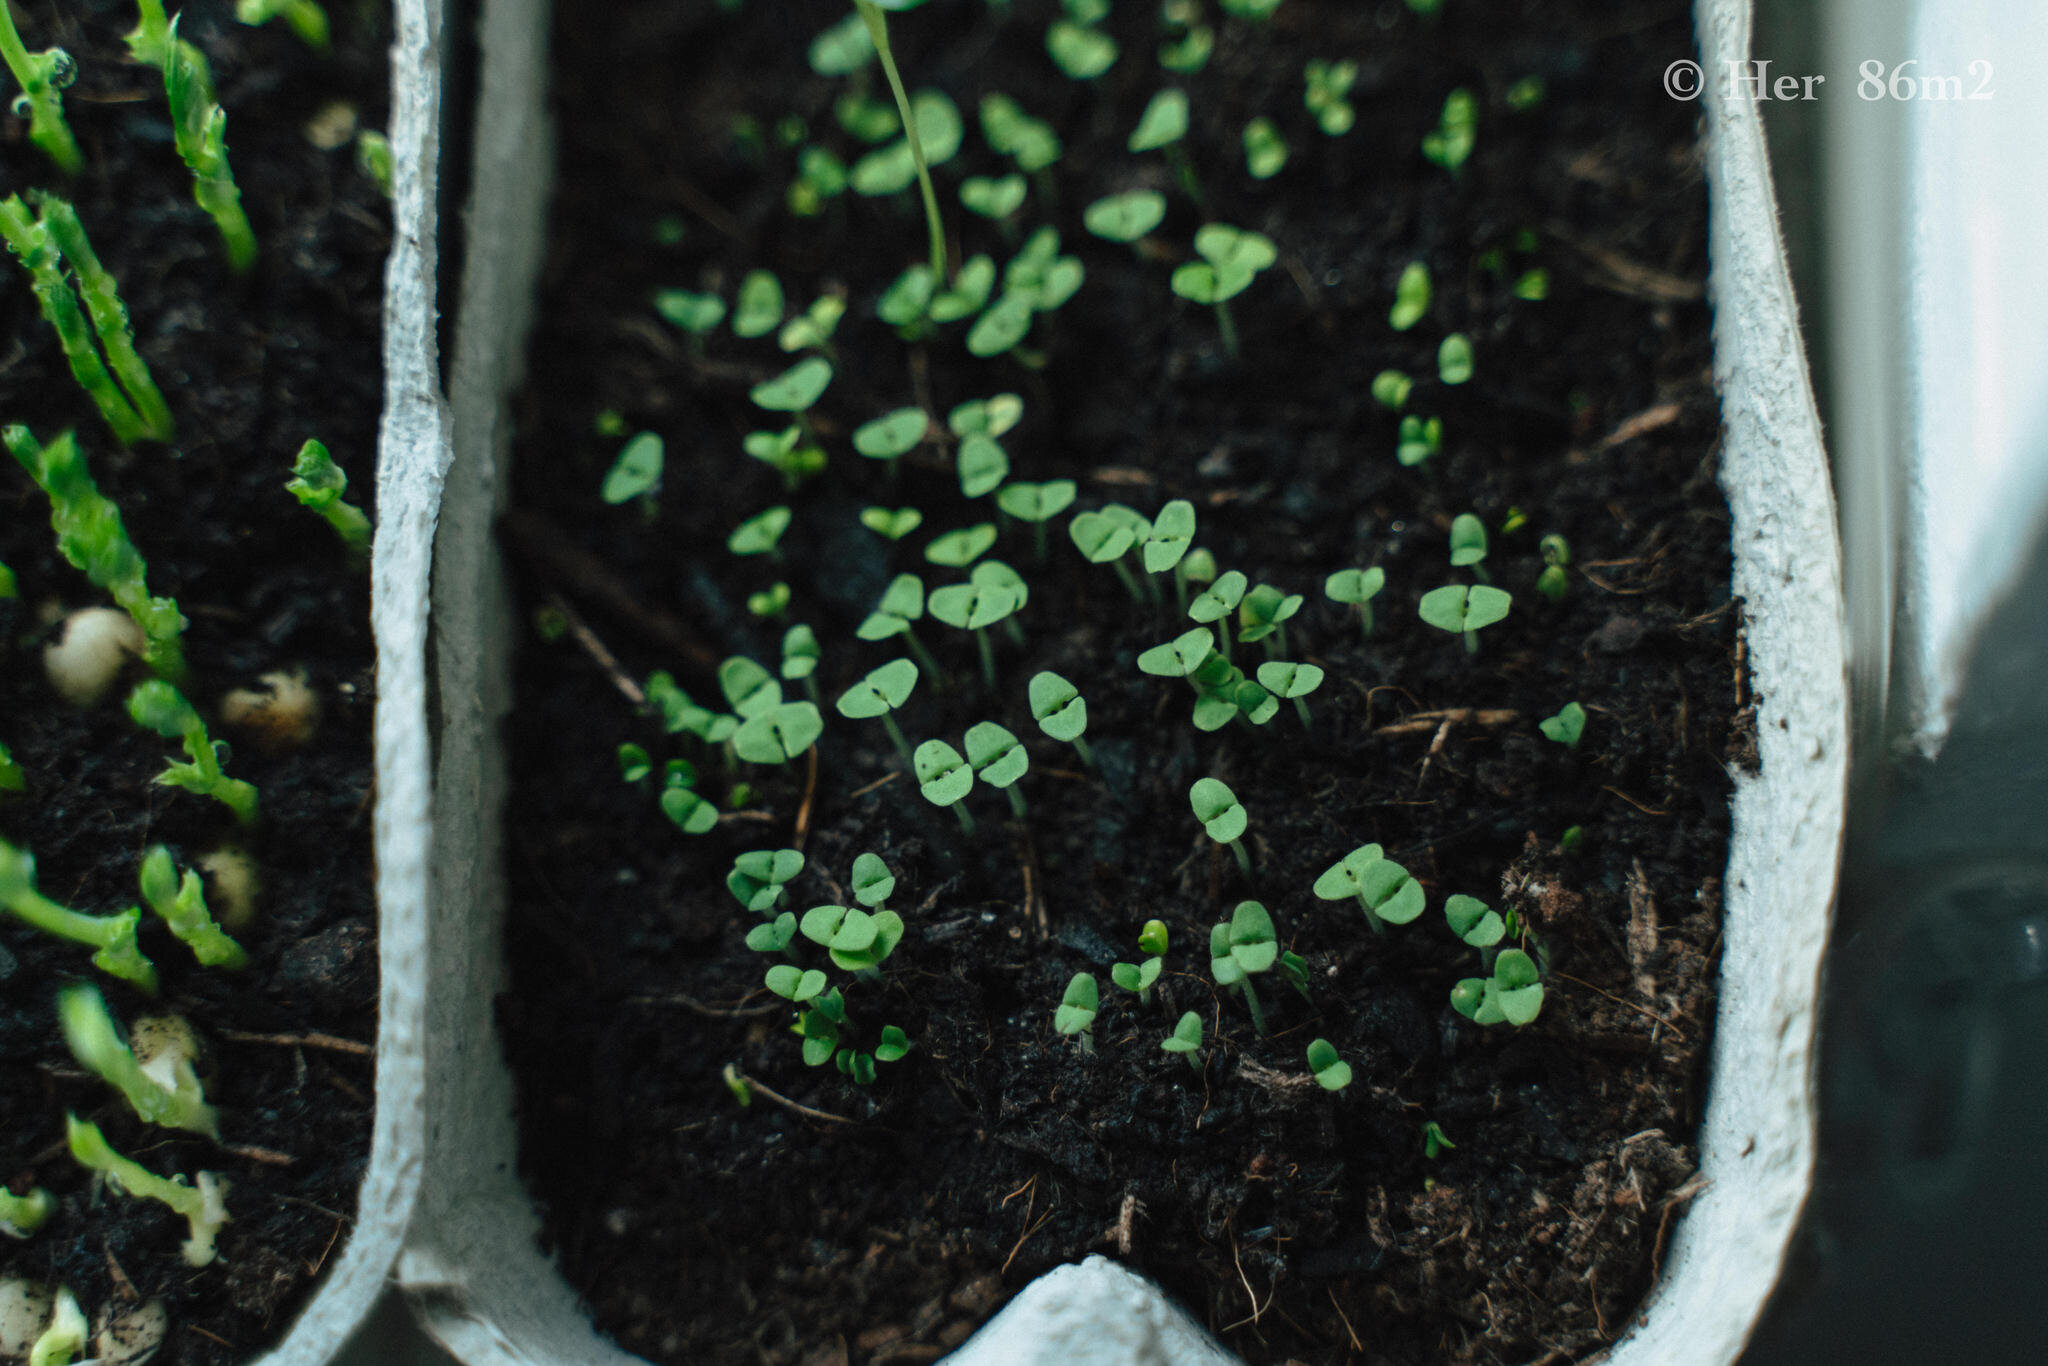
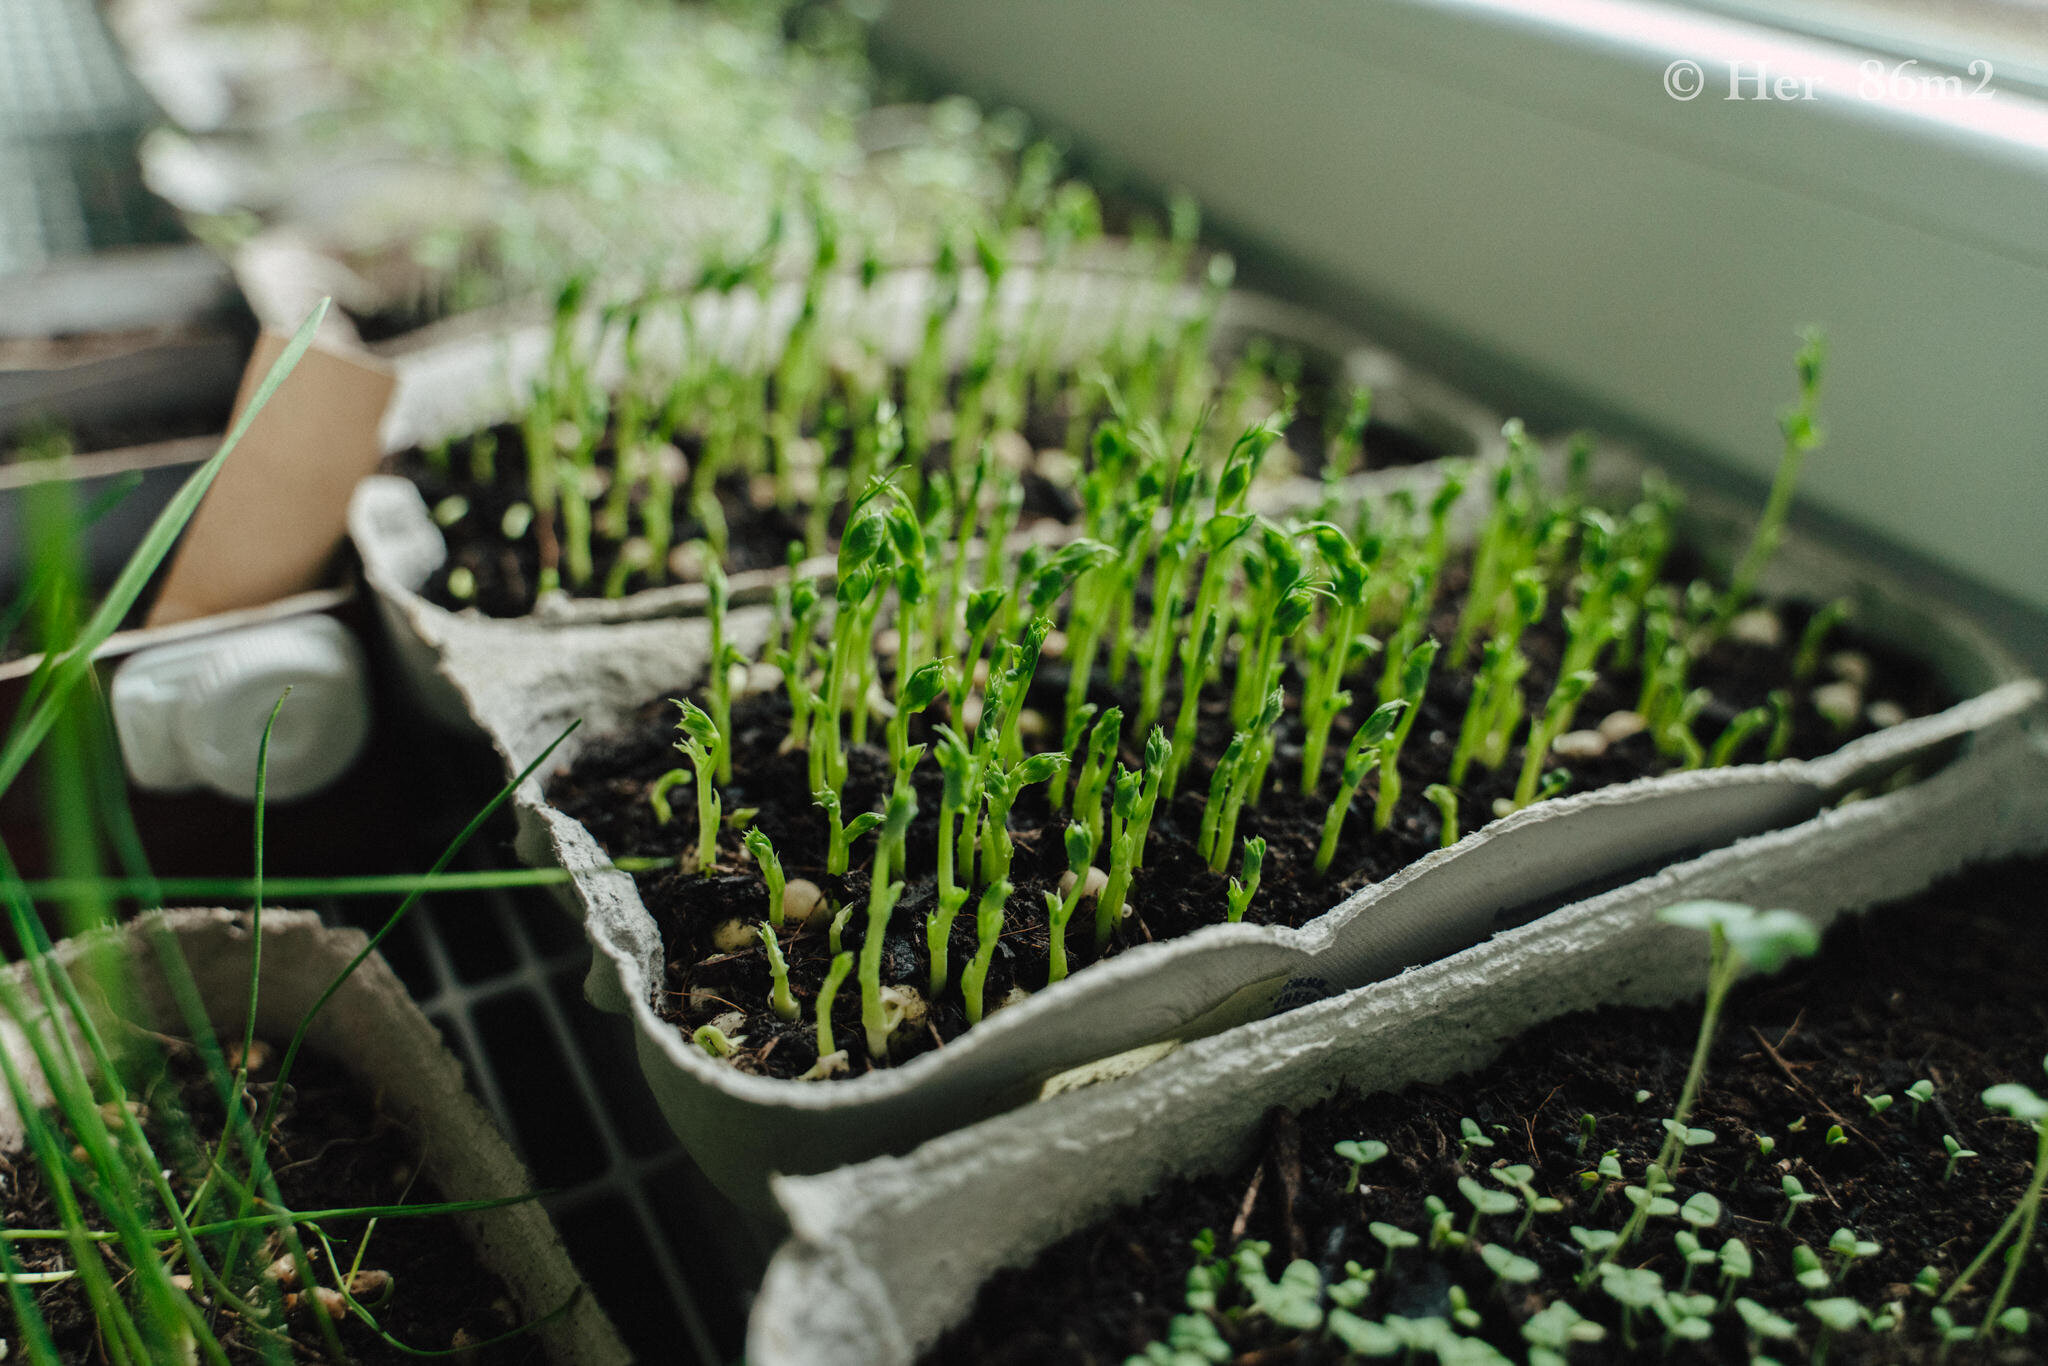
Microgreens are basically sprout’s sophisticated older cousins. I grow microgreen with egg cartons or baking sheets lined with parchment paper.
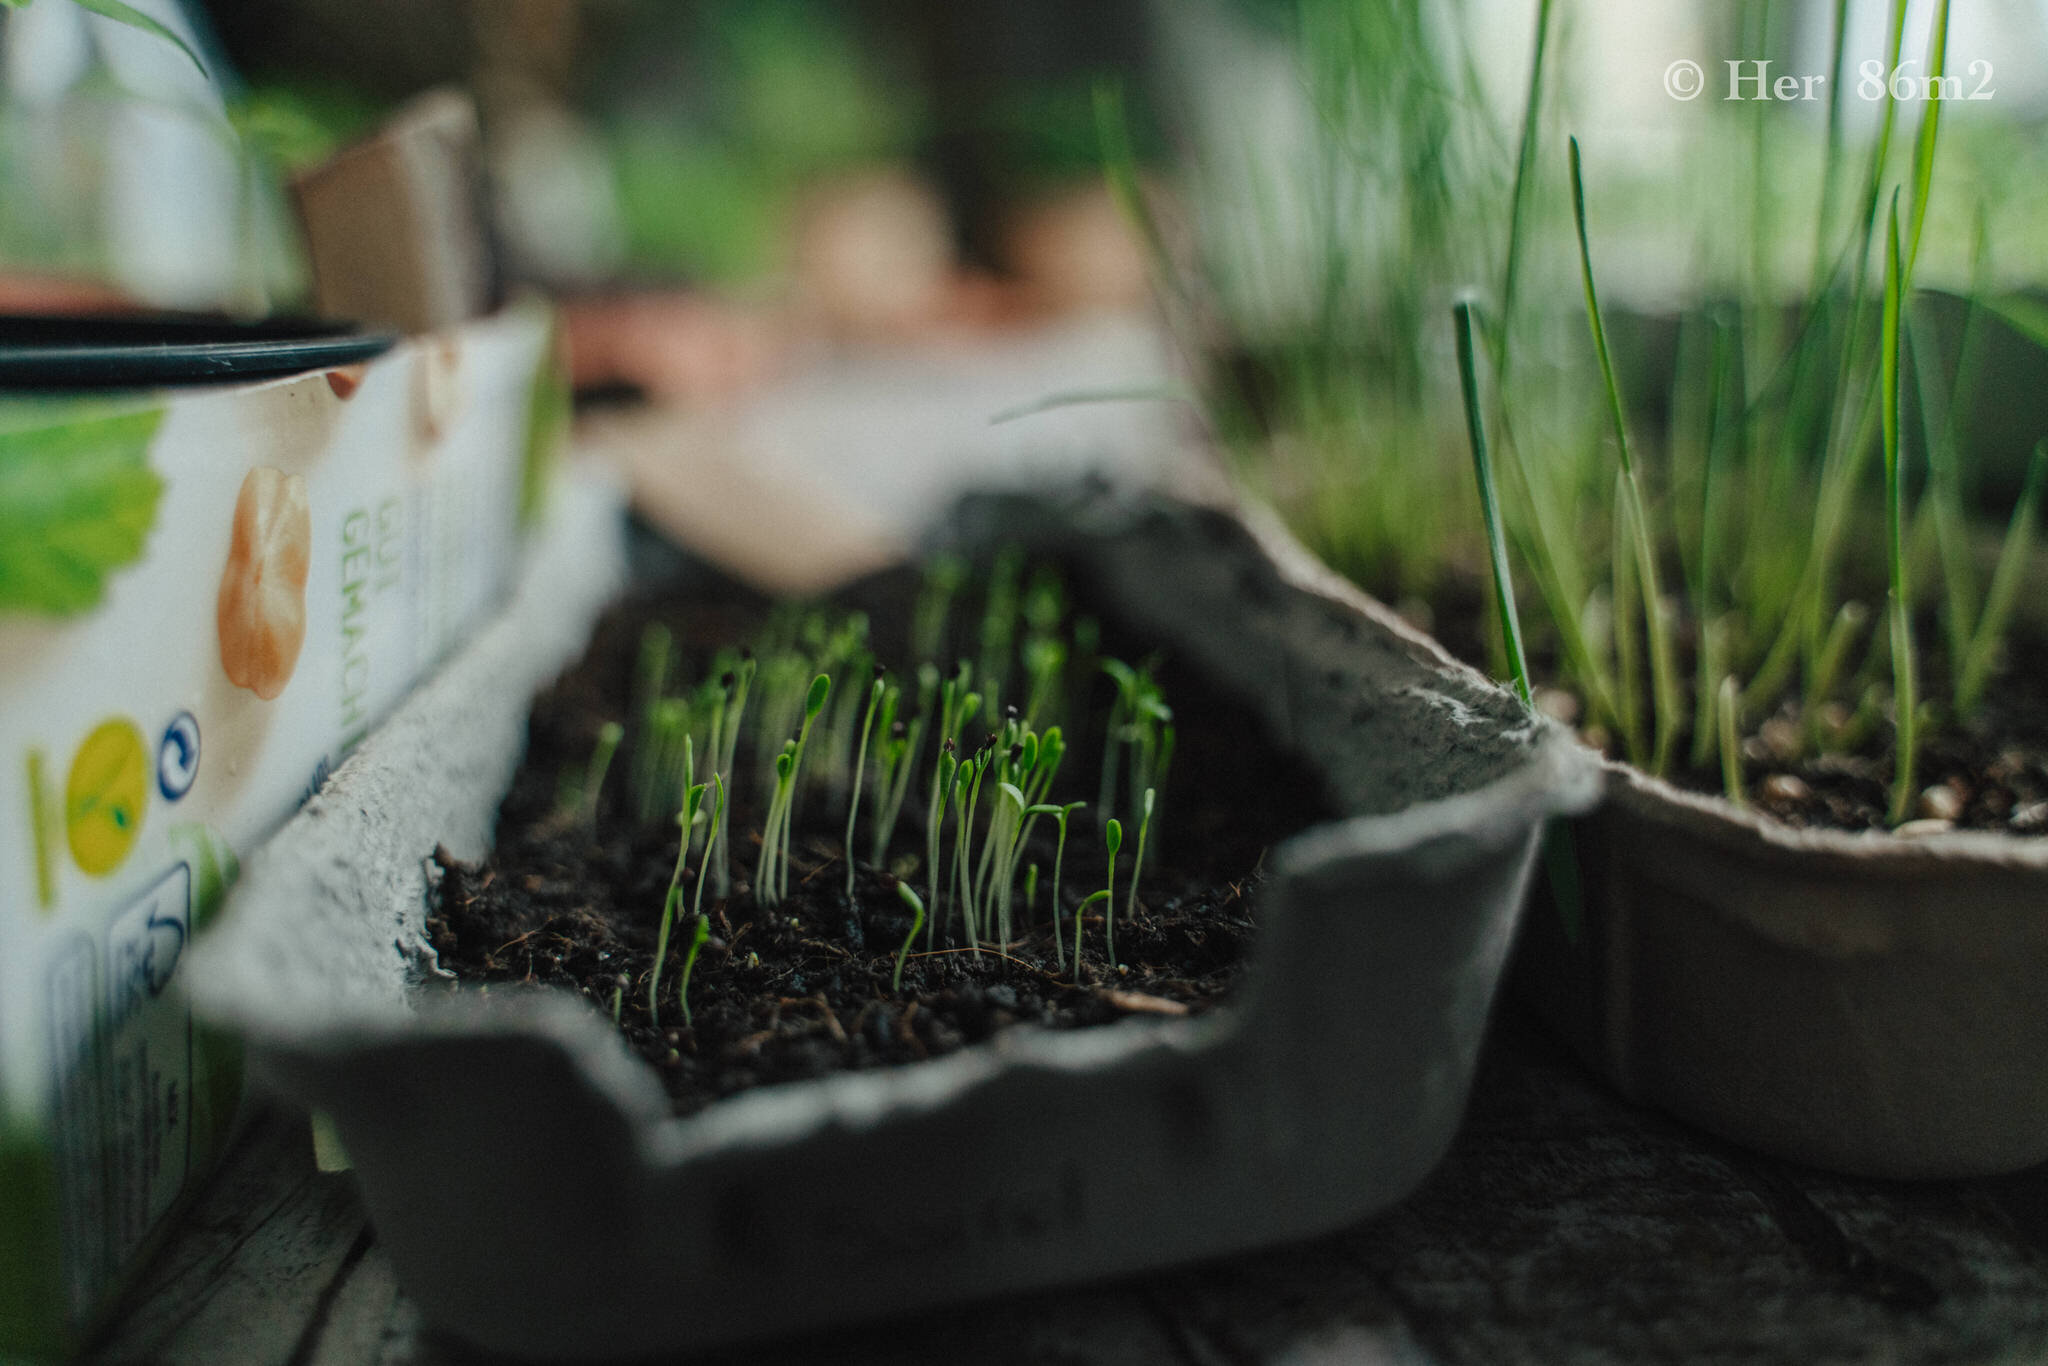
Fill them with an inch or so of moist (but not wet) soil. Big seeds need to be soaked a few hours prior sowing, small seeds don't.
Spread seeds evenly over the entire surface of the soil. Dark germinators need to be covered with soil.
Spray them with water at least twice a day. The important thing is to keep the seeds moist, but not wet, until they germinate. Once the seeds have sprouted, spraying three times a day is recommended.
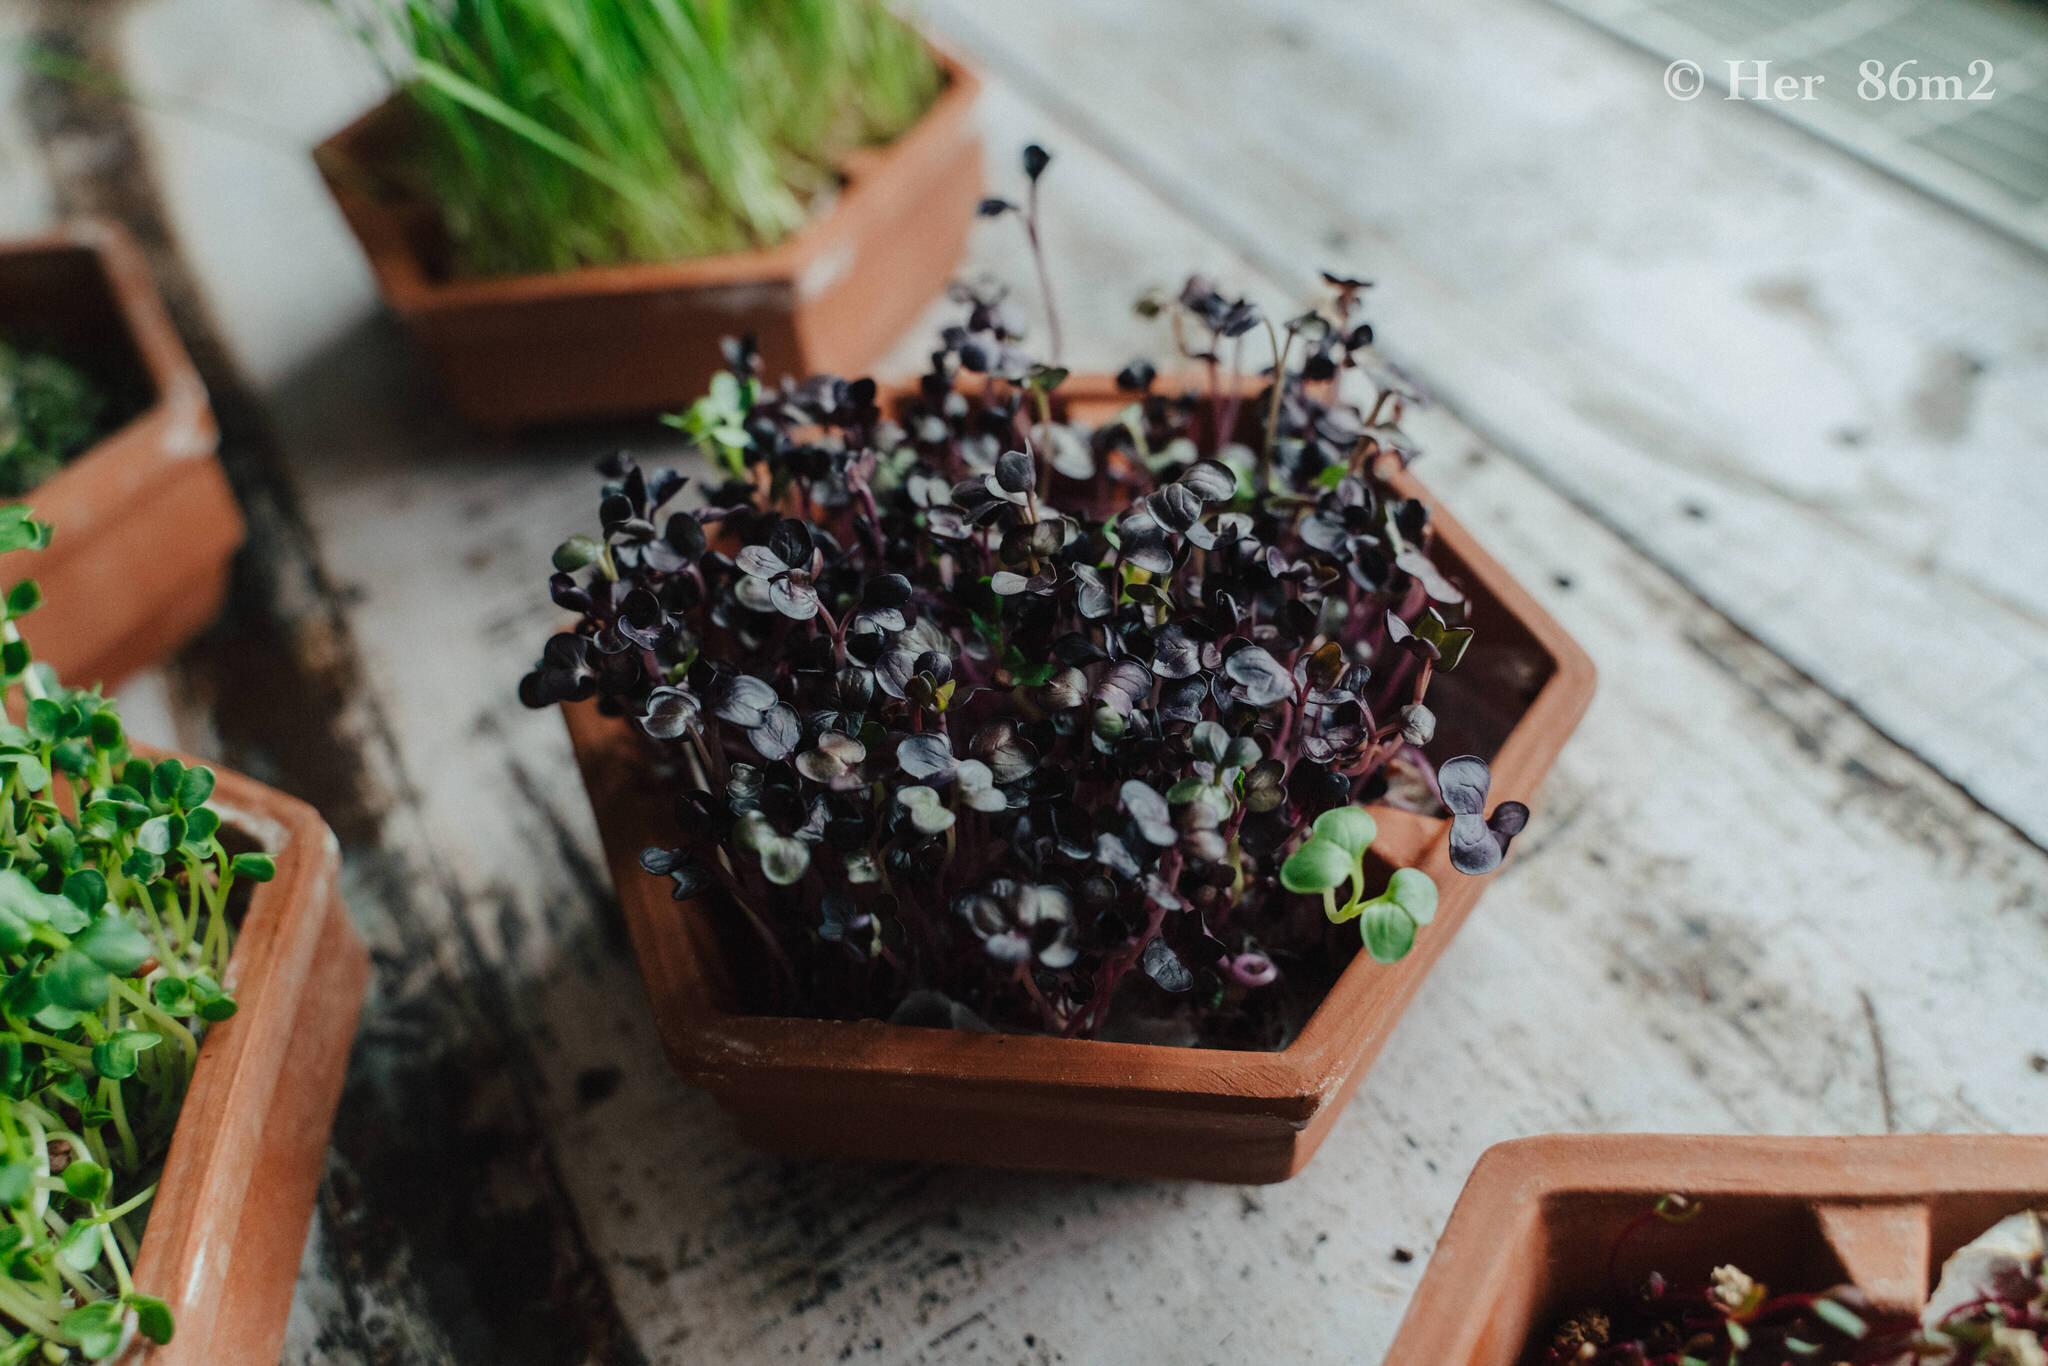
Microgreens are harvested when they’re a couple of weeks old (depending on the type of plant) and have developed their first set of true leaves. They are full of vitamins, minerals and phytochemicals and are particularly easy to digest because carbohydrates, proteins and fats are broken down into their individual components. Some studies said the nutritional value of microgreens is four to forty times higher than their mature versions.
Washing microgreens shortens their already short shelf life, so the best method is to cut only what you need and cut high enough above the soil line that no rinsing is required.
Using certified organic seeds is going to be the safest and best option. Buying in bulk will keep costs down, but a good policy is to test a few varieties before going all-in on a large volume of seed.
If you have a garden or balcony you can also try collecting seeds from your vegetable plants. But that's a long story for another vlog ;)
Meanwhile, have fun, take your time, and experiment.
I license a lot of music for my videos here - Sign up using the link below to get 2 extra months free :)
Bất cứ ai sống ở trong phố (lớn) hẳn đều biết, có khu vườn đúng nghĩa thật khó như trúng xổ số. Ngay cả việc nhà mình có ban công (hướng Nam) cũng đã là khá may mắn rồi. Và không phải ai cũng có sự 'xa xỉ' đó. Vậy phải làm gì nếu không có không gian mở mà vẫn muốn trồng rau tại nhà?
Nhận thức về thực phẩm sạch ngày càng cao nhưng để vượt qua hoàn cảnh mỗi người thực không dễ chút nào.
Tự trồng rau nhà ăn là một bước tiếp theo trong quá trình nhận thức này.
Tất nhiên, không phải loại rau nào cũng thích hợp trồng trong nhà. Nhiều loại cây cần nhiều không gian và nắng - thứ trong nhà không thể cung cấp đủ. Nhiều cây khác thì lại cần đất đặc biệt hoặc phát triển rễ rất sâu.
Vậy nên hôm nay mình muốn nói về rau mầm (Sprouts) và rau non Microgreens - cách dễ nhất để trồng rau trong nhà!
Ngược lại với Microgreens, rau mầm không được trồng trên đất mà được trồng trong lọ, tháp trồng rau mầm, hộp thuỷ tinh hoặc thậm chí là hộp sữa. Với mình, tháp trồng rau mầm bằng đất nung là cách khá hiệu quả. Hộp đựng thức ăn có lỗ thoát khí cũng tốt.
Hạt giống nên được ngâm qua đêm hoặc vài tiếng trước khi gieo.
Mình đặt mỗi khay một tờ giấy ăn để đảm bảo giữ hạt ẩm hơn và hạt nhỏ không rơi qua lỗ, rải hạt lên giấy và tưới vào khay trên cùng hai ba lần một ngày.
Trong 2 ngày đầu hạt nảy mầm, mình xếp các khay kín lên nhau không có ánh sáng.
Có thể dùng lại nước thừa trong khay dưới cùng để tưới cây trong nhà. Vì không có đất nên ăn được cả rễ luôn. Bản thân rễ rau mầm chứa rất nhiều dinh dưỡng và vitamin. Rau mầm cũng không cần ánh sáng ban ngày như microgreens và có thể thu hoạch 3-7 ngày sau khi gieo. Thu hoạch càng muộn, vị càng đỡ hăng.
Rau mầm cần rất ít công chăm sóc, cần ít không gian, có thể trồng quanh năm, hàm lượng dinh dưỡng cao và cung cấp cho cơ thể lượng vitamin, khoáng chất và các nguyên tố vi lượng vượt mức trung bình.
Trên nguyên tắc, ta có thể trồng rau mầm từ hạt rau gì cũng được. Các loại thảo mộc và rau củ phát triển nhanh như xà lách, bông cải xanh, đỗ, đậu Hà Lan, bắp cải đỏ, củ cải, súp lơ, bạc hà, húng quế, thì là, rau mùi... đặc biệt thích hợp.
Bệ cửa sổ là vị trí đặc biệt tốt để cấp đủ ánh sáng cho loại siêu thực phẩm này. Một nơi ấm áp và sáng không có nắng trực tiếp là rất lý tưởng. Nhiệt độ phát triển tối ưu từ 18 đến 22 °C. Nếu nhà bạn không có nhiều nắng, hãy cân nhắc mua đèn LED trồng cây.
Sau khi thu hoạch, mình rửa sạch khay và ngâm trong nước + giấm táo qua đêm để tiệt trùng.
Microgreen (rau non) về cơ bản là anh em họ của rau mầm. Mình trồng microgreen bằng hộp trứng hoặc khay nướng có lót giấy nến.
Đổ đất ẩm (nhưng không sũng nước) dày khoảng 2.5cm vào. Hạt to cần ngâm nước vài tiếng trước khi gieo, hạt nhỏ thì không cần.
Rải đều hạt lên đất. Những loại hạt mọc tối thì phải phủ đất.
Xịt nước ít nhất hai lần một ngày. Điều quan trọng là giữ cho hạt ẩm, nhưng không sũng nước, cho đến khi chúng nảy mầm. Khi hạt đã nảy mầm, nên xịt nước ba lần một ngày.
Microgreens thu hoạch khi được vài tuần tuổi và đã phát triển bộ lá thật đầu tiên. Chúng chứa đầy vitamin, khoáng chất, hoá chất thực vật và đặc biệt dễ tiêu hóa vì tinh bột, đạm và chất béo được chia rẽ thành các thành phần đơn lẻ. Một số nghiên cứu cho thấy giá trị dinh dưỡng của microgreen cao gấp bốn đến bốn mươi lần so với phiên bản trưởng thành của chúng.
Rửa rau microgreen rút ngắn thời hạn sử dụng vốn đã ngắn của chúng, vì vậy phương pháp tốt nhất là chỉ cắt những gì định ăn và cắt đủ cao trên mặt đất để không cần rửa lại.
Sử dụng hạt giống hữu cơ sẽ là lựa chọn an toàn và tốt nhất.
Nếu bạn có vườn (trên ban công), bạn cũng có thể thử thu hoạch hạt từ chính cây của mình. Nhưng đó là một câu chuyện dài cho một vlog khác;)
GARDENING TOOLS
Bokashi: https://geni.us/bokashi
Soil: https://geni.us/vegsoil
Sprouting Jar: https://geni.us/sproutjar
Sprouting Tower: https://amzn.to/3riY2LC
Potting Soil: https://amzn.to/3rfoeXD
SUPPORT ME SO I CAN CREATE MORE QUALITY CONTENT / ỦNG HỘ MÌNH LÀM TIẾP NHỮNG NỘI DUNG NHƯ NÀY:
https://paypal.me/ThuThuyDao
https://www.patreon.com/her86m2
PHOTO EDITING PRESETS FOR LIGHTROOM / PRESETS CHỈNH ẢNH:
STAY CONNECTED / KẾT NỐI VỚI MÌNH:
Website: https://www.her86m2.com
Facebook: https://www.facebook.com/her86m2
Instagram: https://www.instagram.com/thuydao__/


